Add side extensions to table saw
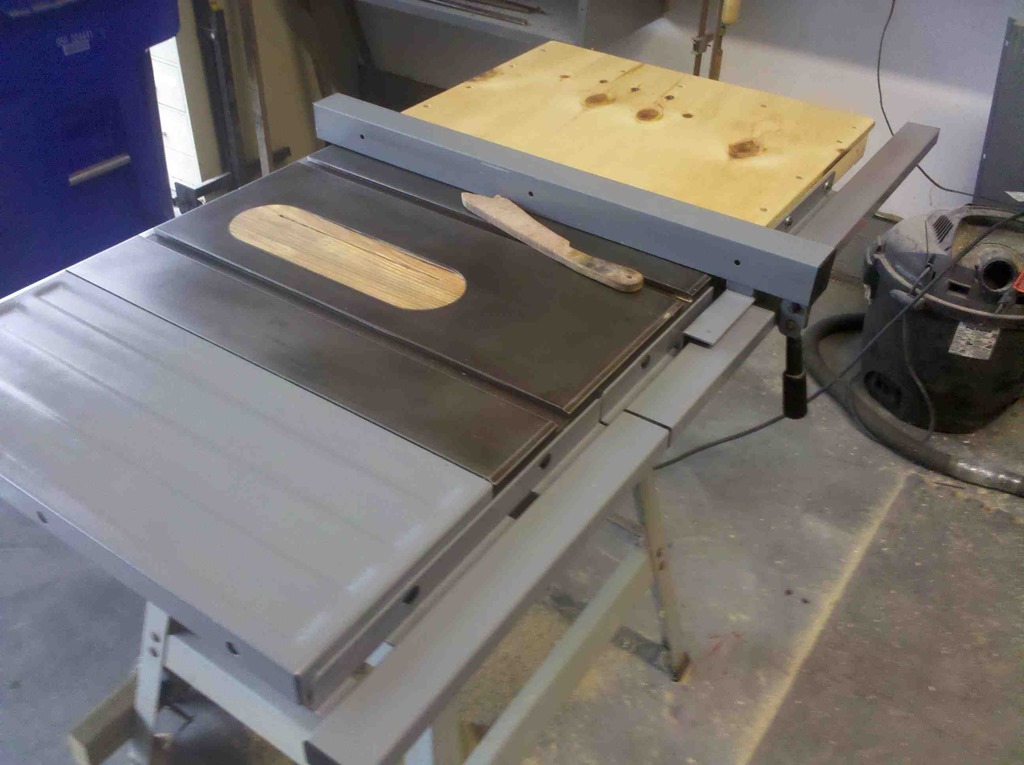
I finally finished up the extension tables for my Delta Shopmaster Tablesaw. I ended up resurfacing the left extensionextention because I didn’t have enough plywood to make it out of wood, but I did finish the right side. Below is a video and quick rundown of the steps I took to build the right extension for the saw which I will later turn into a router table and will build a router lift to go with it.
Watch The Build
Archive Notes
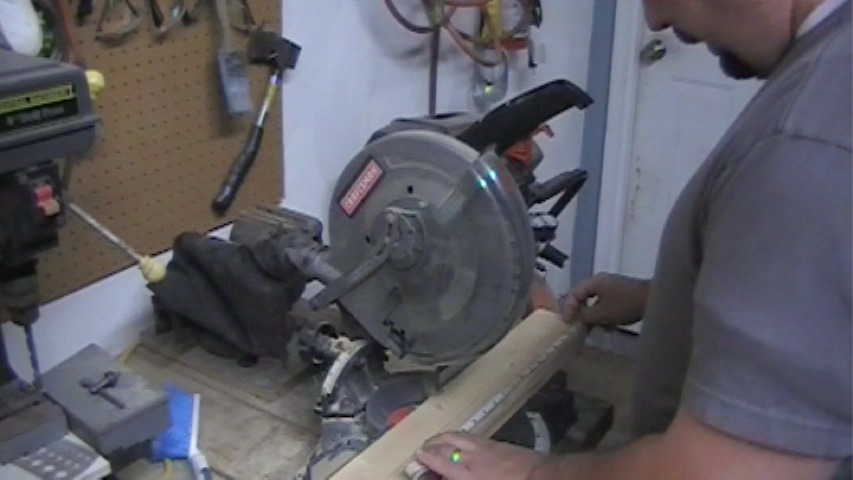
I started out by cutting everything to length
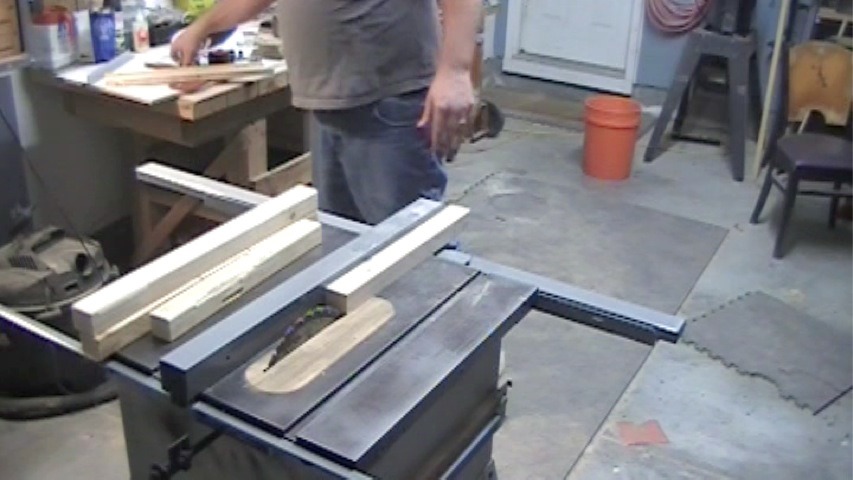
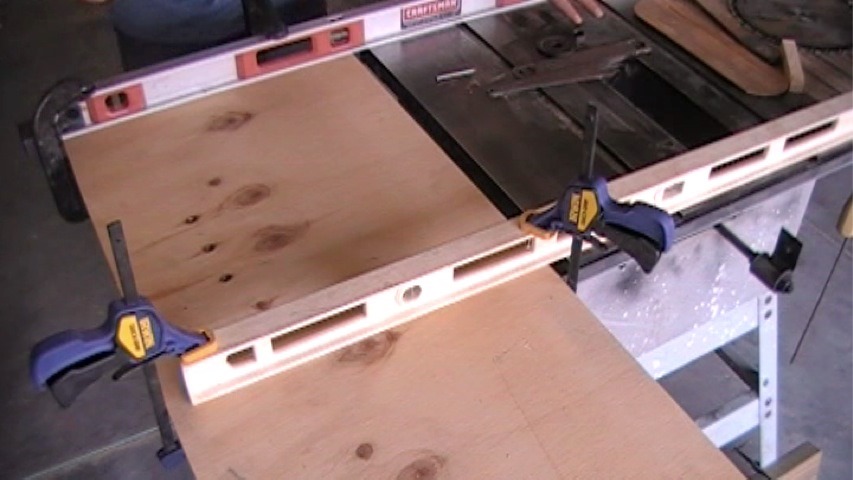
Next I squared off the stock. I decided to try my hand at using the metric system for this build. I squared everything off to 36mm so I could easily measure out for the tenons and mortis at 12mm
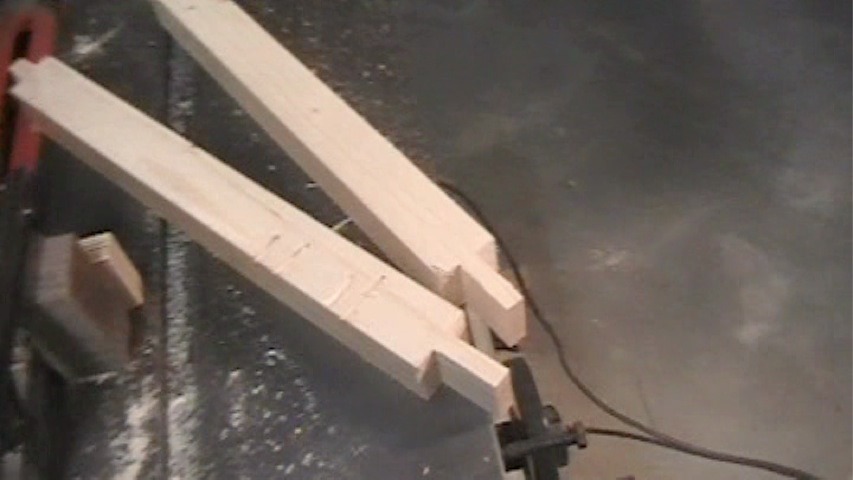
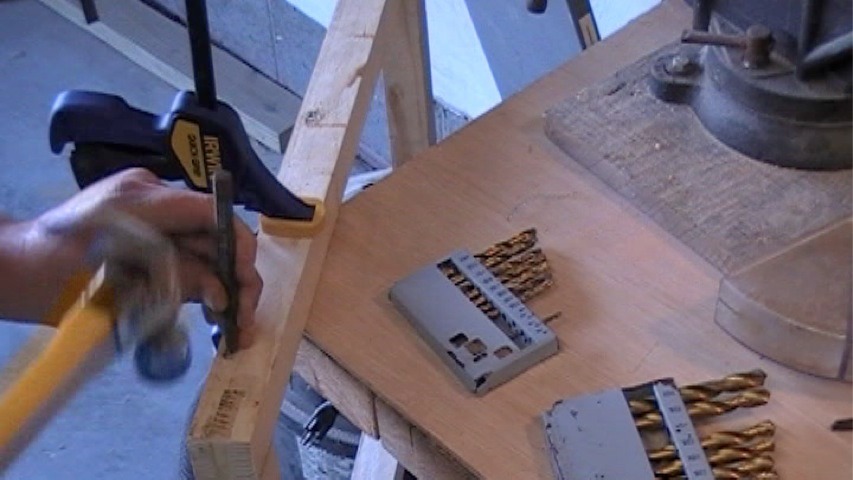
A shot of the tenons
and the complete bridal joint
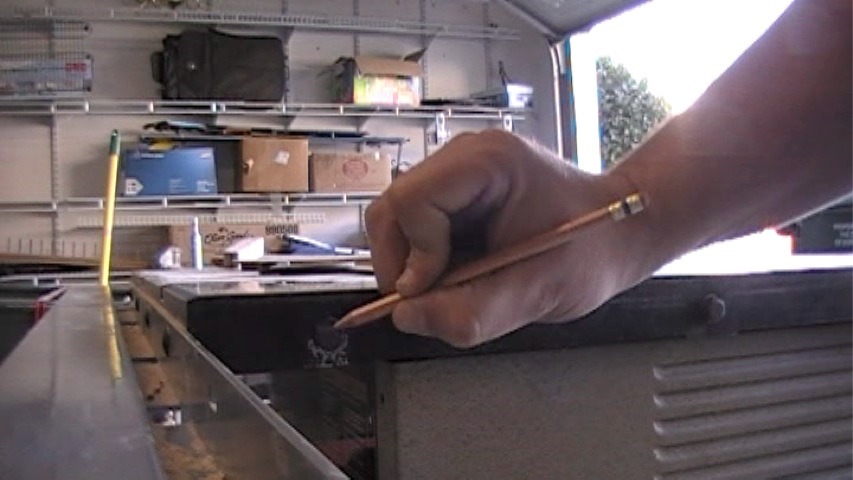
I had a hard time figuring out how to mark the holes until I thought about marking the face of the bolts with a graphite pencil. This allowed me to mock up the extension table and tap the frame work against the bolt. This left marks I used to drill the holes
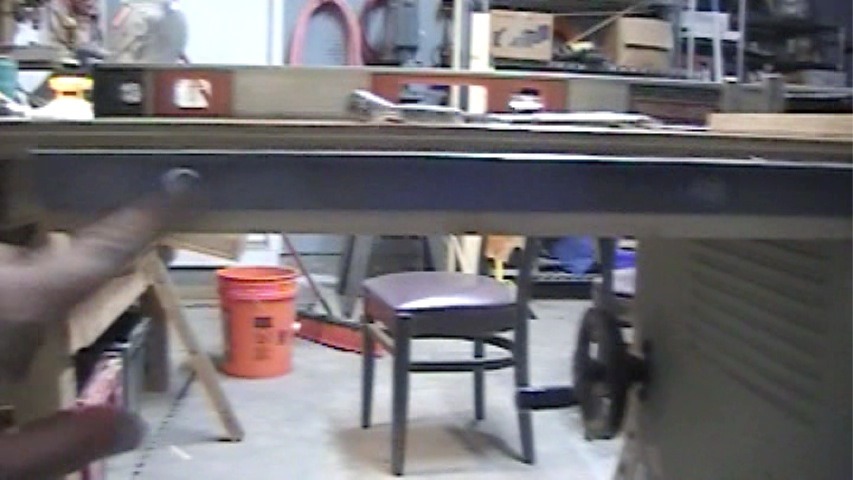
Mocked up extension table
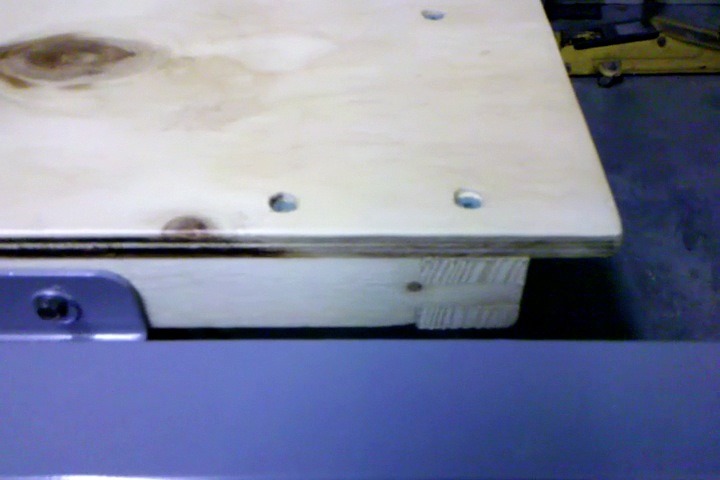
Drilled the holes that would bolt to the cast iron table of the saw
I went ahead and resurfaced the left extension because I didn’t have enough plywood to do both sides.
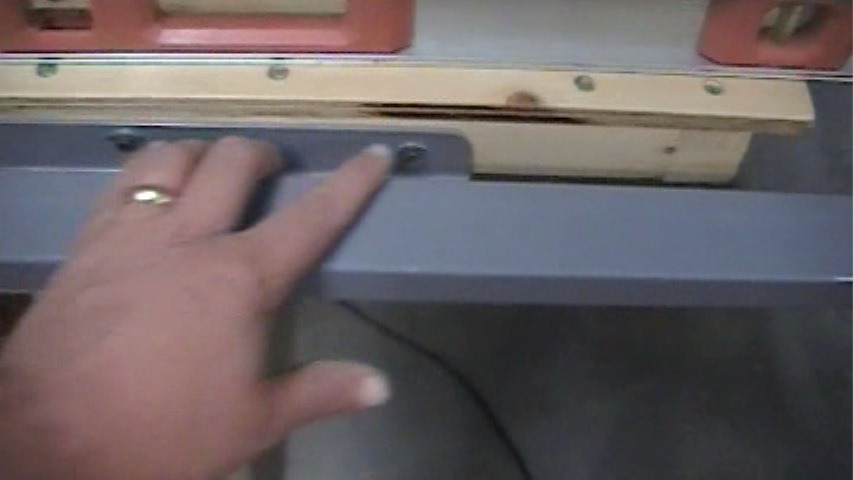
I had to drill two new holes in the frame work of the saw.
This is the second hole
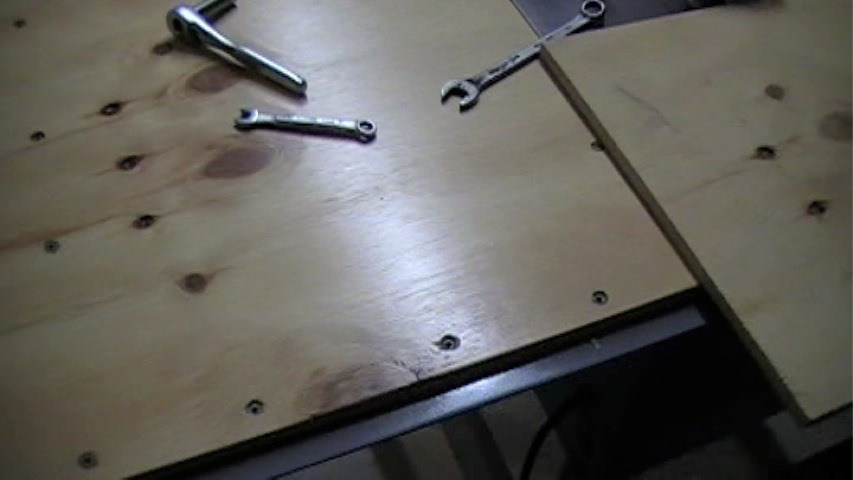
I screwed the top down to the frame work. That way I can easily replace the plywood if it ever gets warped or scratched up too bad.
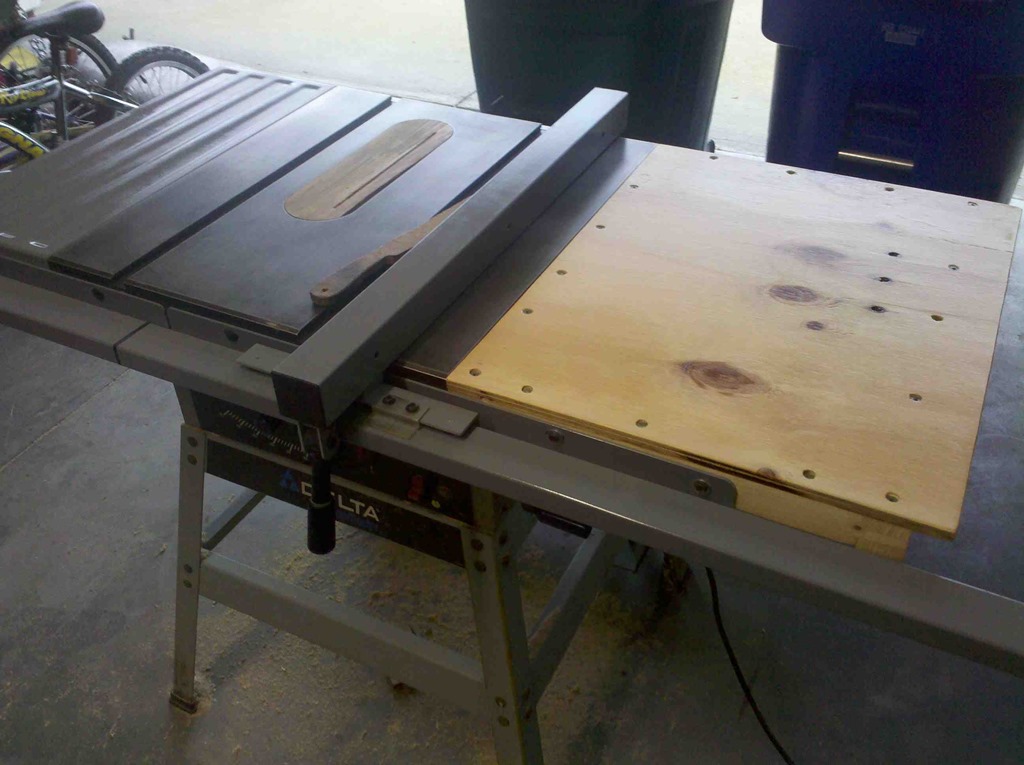
And here it is…ready to start the addition of the router.
Migration Note
This archive page was brought over from the old Plan-to-Build site. It may still receive a tighter rewrite, additional YouTube references, or updated project notes as the rebuild continues.