1/6 Scale Furniture - Dry Sink With Plans

This playscale dry sink is one of the more detailed 1/6 scale furniture projects. It makes a good conversation piece, but the small doors, drawer, raised-panel look, and alignment details mean the build benefits from templates and a careful sequence.
The archived plan set is available as a free download, with optional support contributions handled separately.
Watch The Build
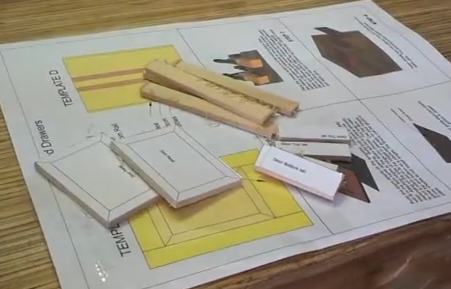
Templates And Parts
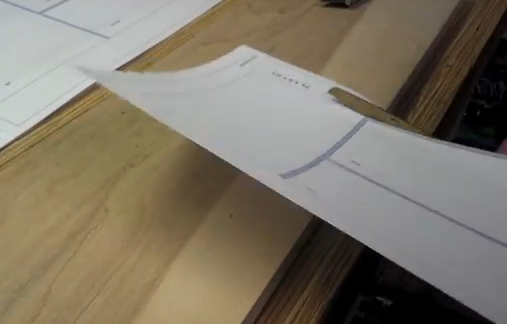
The build starts by trimming the printed cut sheets and attaching them to the wood. Scissors, a razor knife, or a straightedge can all work as long as the cuts stay accurate.
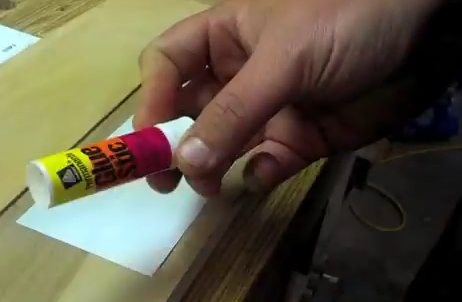
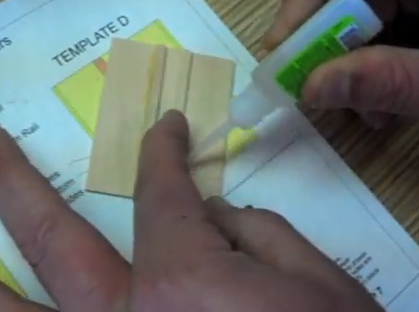
I used a glue stick to hold the cut sheets in place. A good coat matters because loose paper makes it harder to cut small parts cleanly.
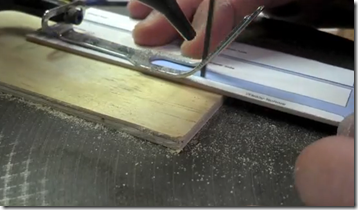
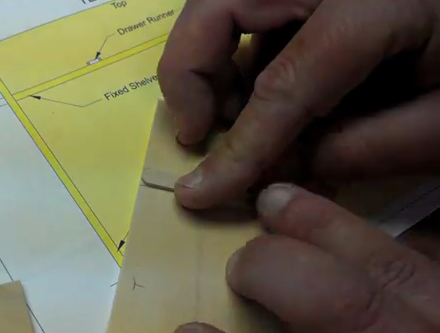
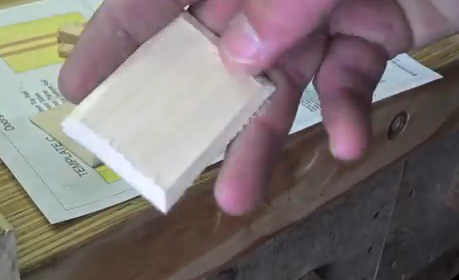
The parts can be cut with a scroll saw or bandsaw. I like to stay close to the line without cutting the line away, then sand to final fit.
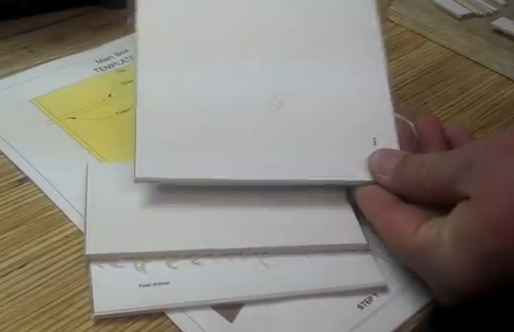
At the beginning of each step, I gathered the parts needed and sanded them before assembly. That keeps the small pieces from turning into a pile of look-alike parts.
Cabinet Assembly
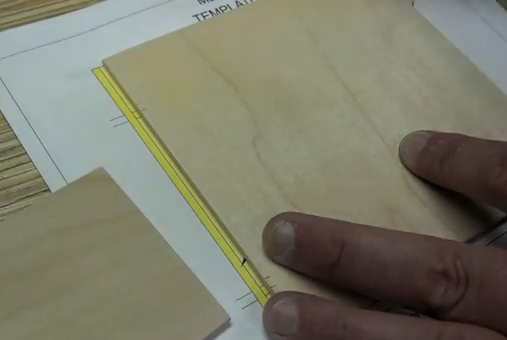
Alignment marks are transferred to the back, sides, shelves, and drawer areas before glue-up. Those marks keep the tiny shelves and drawer runners from drifting out of place.
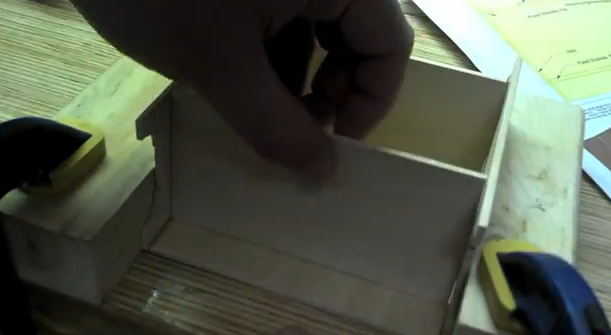
The sides, back, and shelves are assembled first. Clamping between scrap blocks helps keep the parts upright and square.
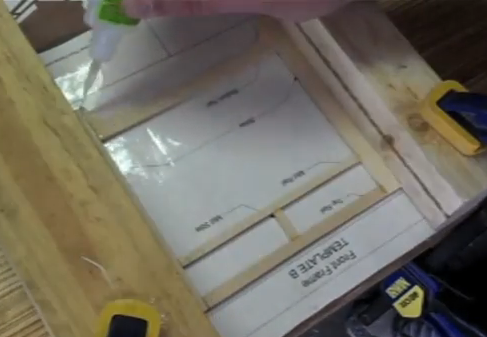
The front frame is built over the printed template, protected with clear packing tape or wax paper so glue does not lock the template to the project.
Doors, Drawer, And Finish
The doors are easier to fit before mounting the front frame to the main cabinet.
I sanded a bevel into the door panels to suggest a raised-panel look, then assembled the doors over the template.
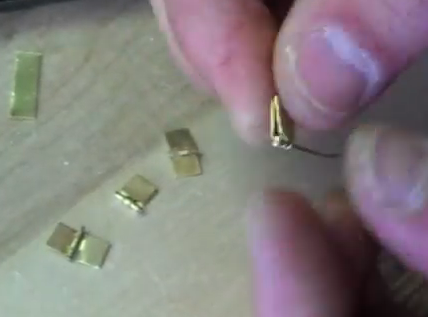
The doors used homemade scale hinges. They can also be bought, or the doors can be glued in place permanently, but working doors are more fun.
The drawer starts with the bottom and guides, then the sides and back are glued in place between scrap blocks.

The drawer front is fit while the drawer is in the cabinet so the reveal lines stay right.
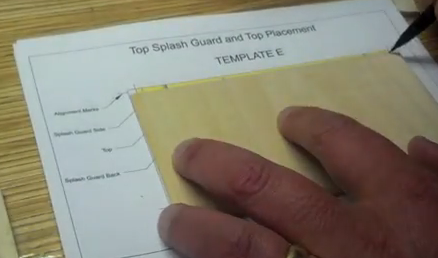
The top and splash guards are aligned with template marks, then glued in place.
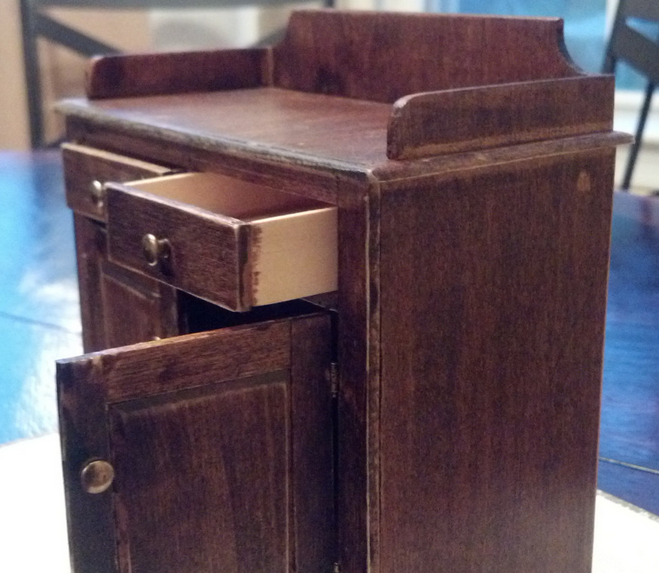
After knobs, stain, and varnish, the dry sink has the finished furniture look that makes these scale projects so satisfying.
Free Archive Plans
This plan is part of the 1/6 scale model furniture group. The archive download remains free, and support contributions are optional.