Wooden Computer With Chessboard Top
2014-08-03 written by: Brad
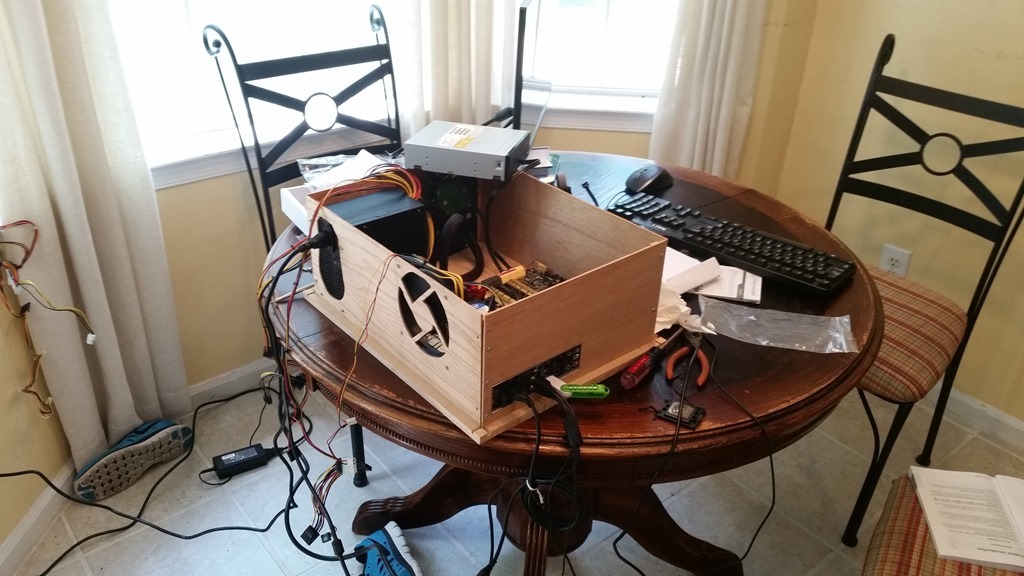
I started out the project by building a temporary case so I could make sure all of my parts worked together and to get an idea of how big I needed to build the case.
Once I was sure everything I wanted to include in the case would fit would fit properly, and I was able to load an operating system on the computer hardware, I began building the real case.
For the main body of the case I used some spalted oak that also had some powder post beetle damage…which really gives some character to the wood.
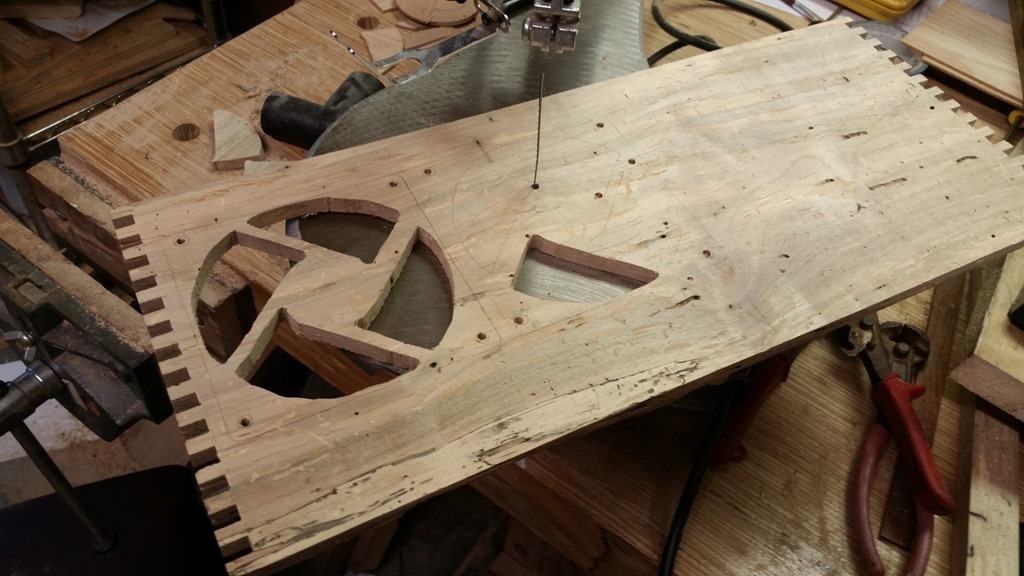
I used my box joint jig designed by Mathias Wandell from http://woodgears.ca to cut the box joint for the computer case. I sized the box to fit exactly around the plywood base shown in the first picture of this article.
I adjusted the joints to be just right…not to tight and not too loose so I would be able to take each side wall off easily during construction.
I fit in each piece individually by placing it where it needed to be and tracing around all the areas that needed to be cut out. I then used the scroll saw for most of the cuts.
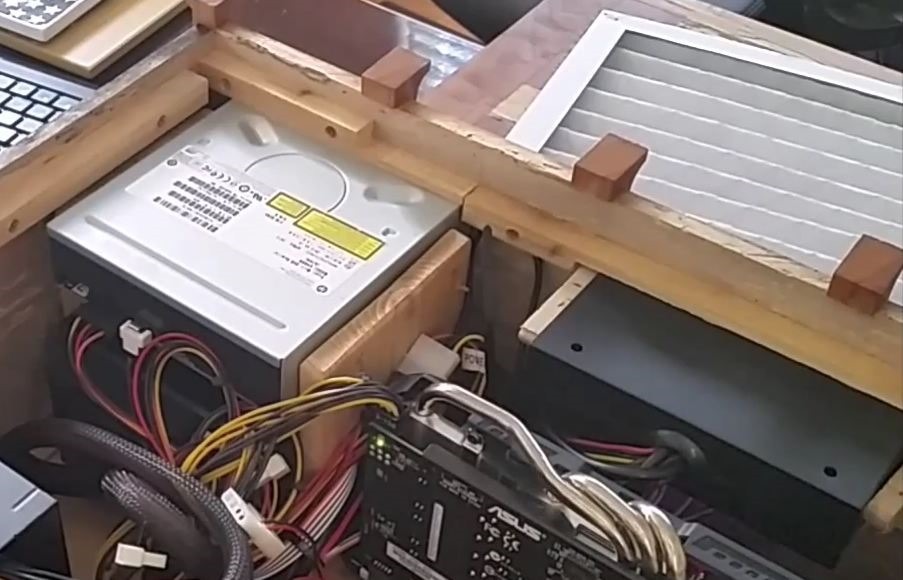
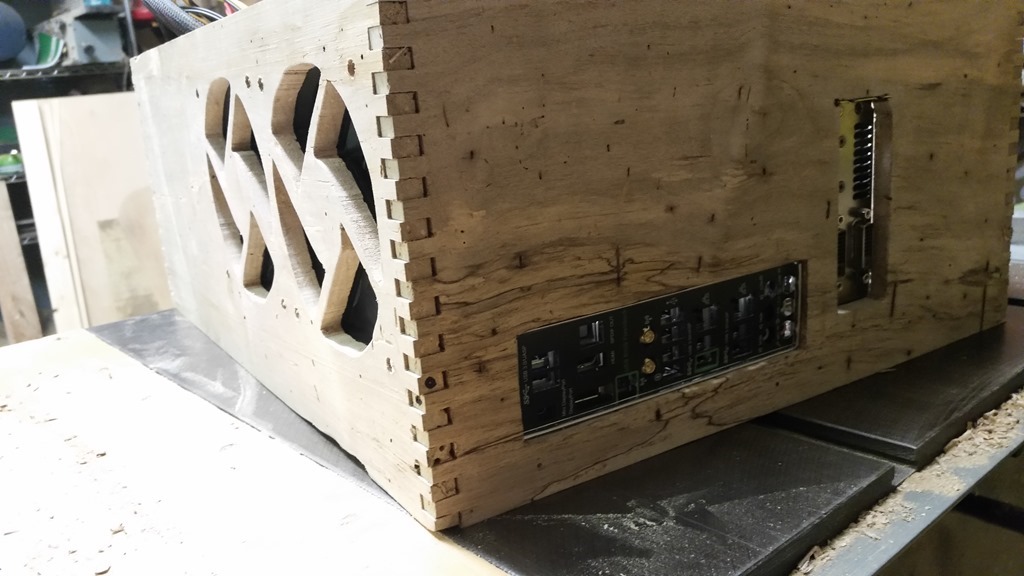
For the components that needed a little more support on the inside I made simple mounts for them. The hardest part was figuring out exactly where to drill the holes.
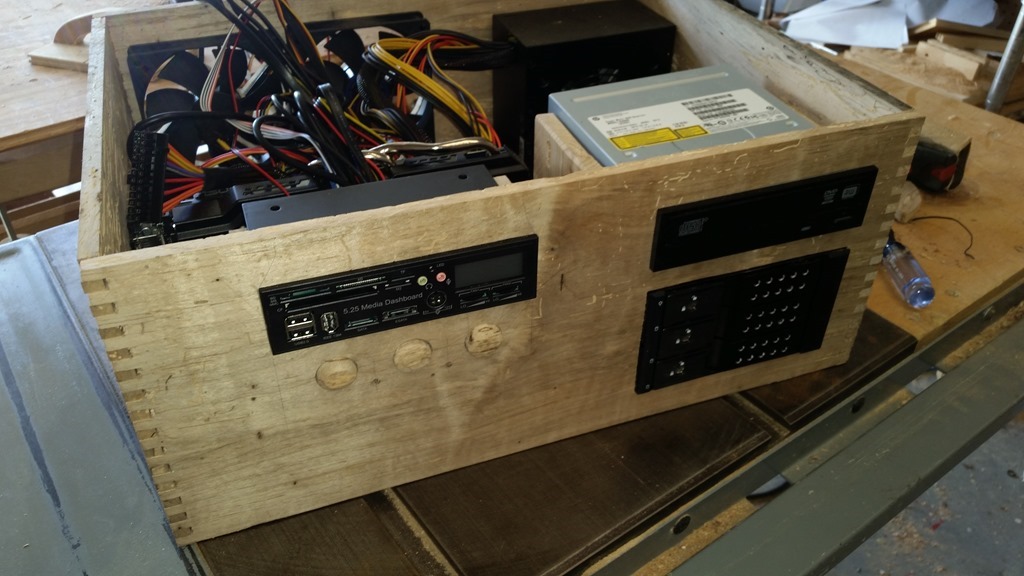
For the hard drive bay and cd player I set them on there side and spaced them out like I wanted then taped a piece of paper to them an poked holes where all the mounting screws needed to be.
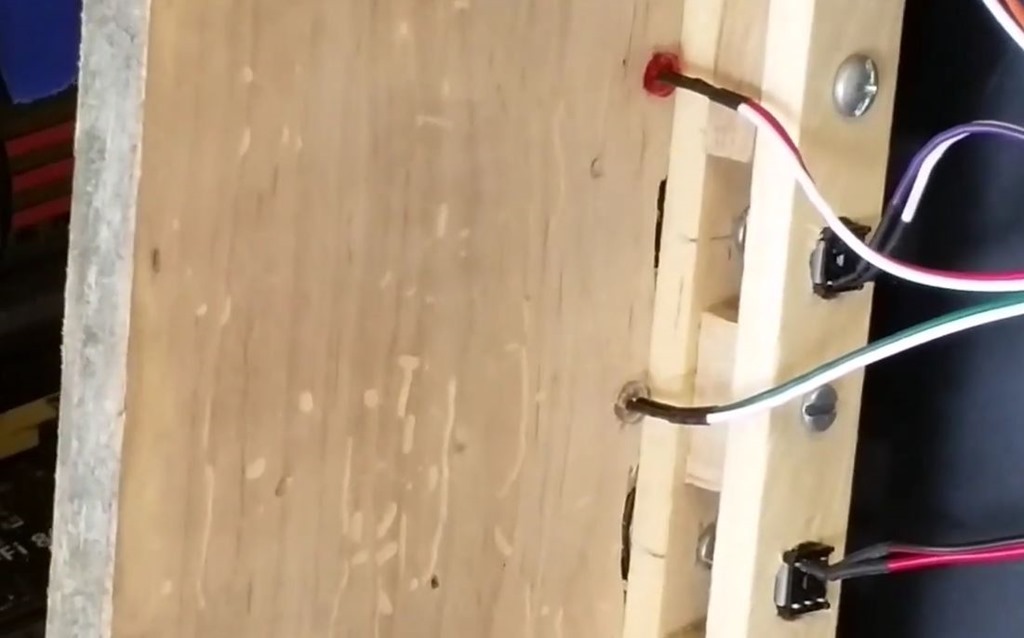
The buttons took a little while to figure out the best way to make them. This is a view from the back showing how I set them up. The real buttons are press fit into a piece of wood raised off the front panel just the right amount. A screw attached to the wooden button holds the button in place under spring pressure and can slide in and out of its mounting hole to actuate the real button.
I must have pressed those buttons a hundred times once I got it set up and working haha.
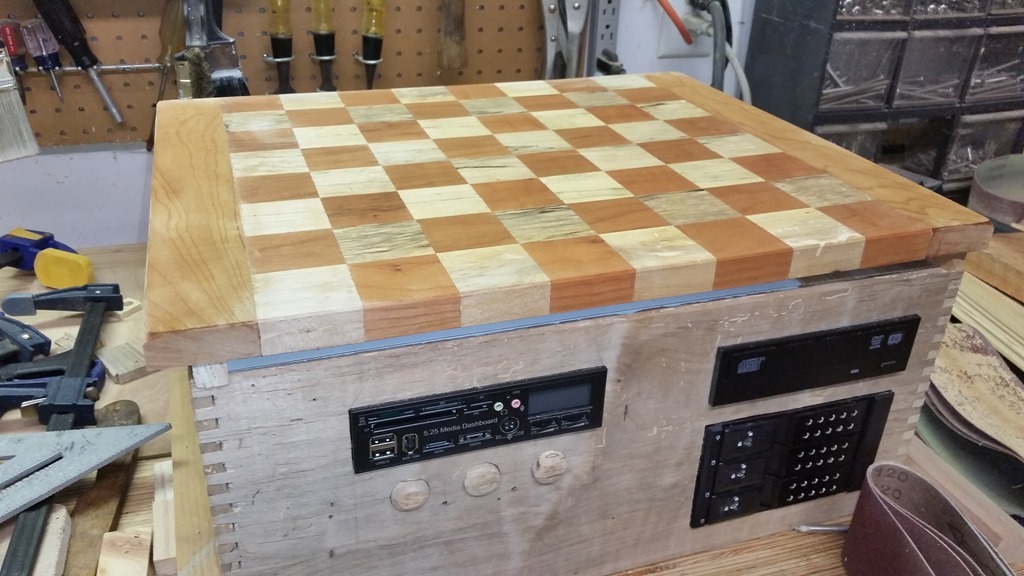
The design of the board changed as I went along. I almost gave up on the checkerboard pattern until a good friend from work suggested I needed a front boarder on the top to help tie the wood types together.
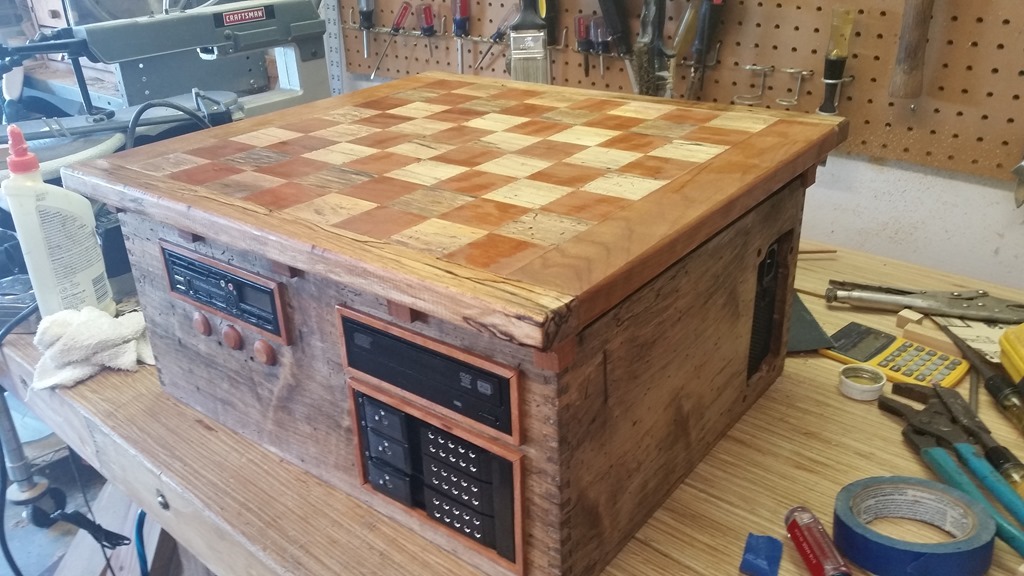
A view of the wooden computer after it’s first coat of boiled linseed oil.
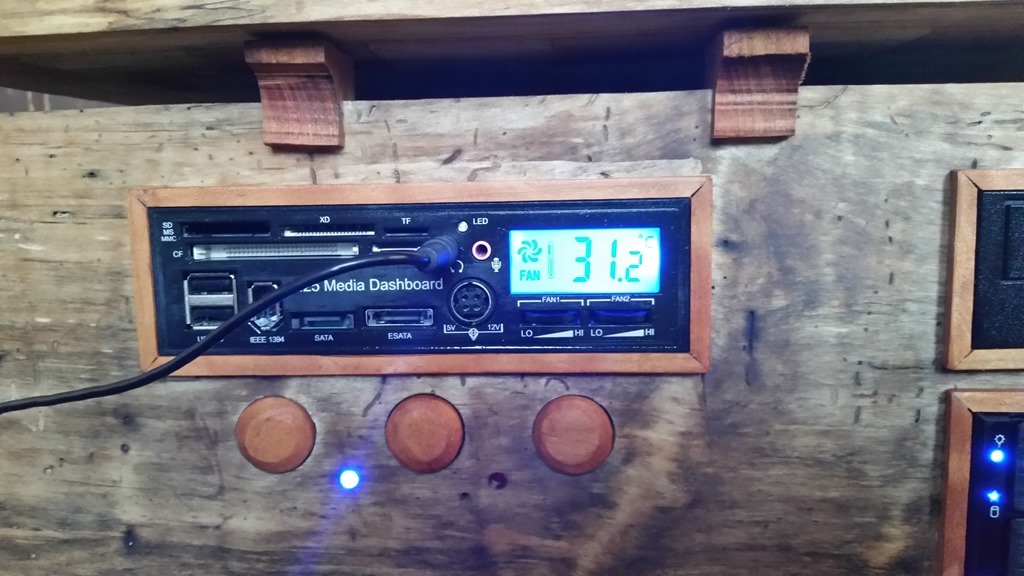
The final design change was to remake the buttons out of cherry to match the trim and chess board top.
I gave it a coating of boiled linseed oil for the finish and boy did it bring out the character of the wood. It wasn’t until then did I realize how well it had turned out!
Category: Woodworking