Wooden book Coloring Box
2014-08-02 written by: Brad
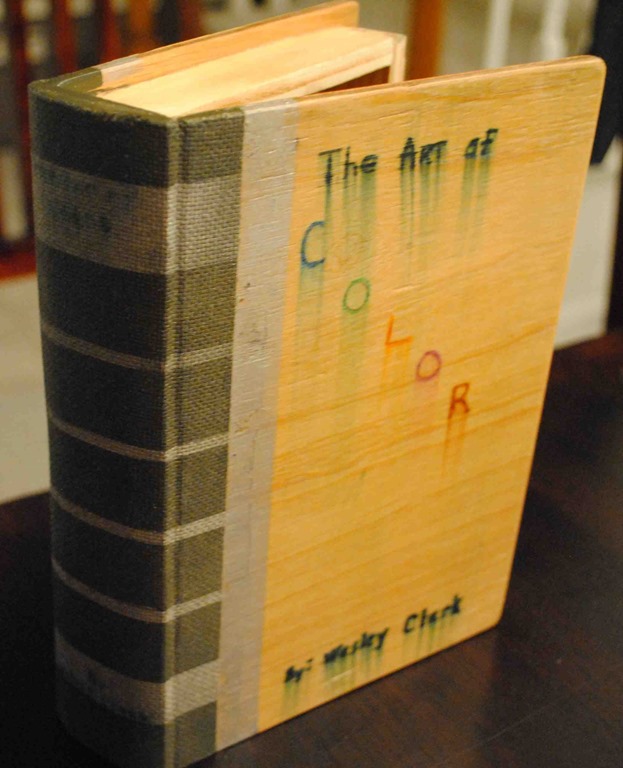
Wesley and I made a coloring box for his color pencils, crayons, etc… and somewhere in the middle of the construction process the plans changed to look more like a book than a box.
We started this project by coming up with some initial dimensions, however there was never any measuring device used. We just sort of winged it.
We decided how long to make the box by using a new color pencil that hadn’t been used yet and added a little extra for good measure.We also had to remember to allow for the thickness of the sides at this point.
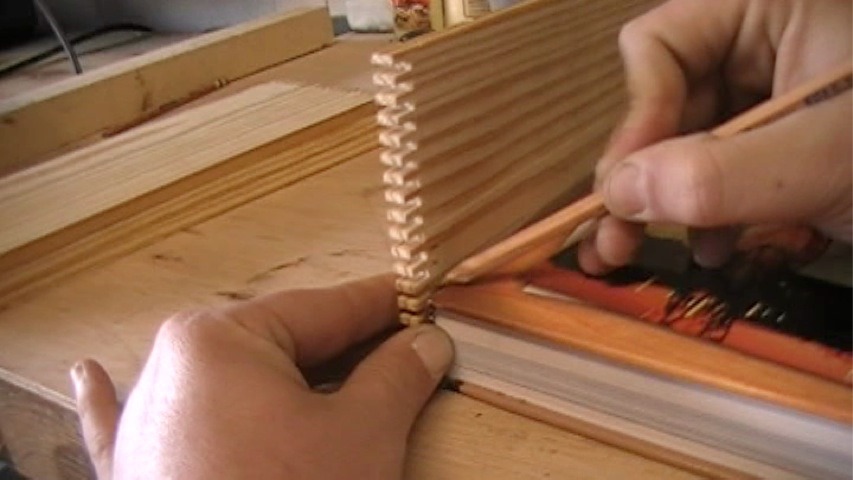
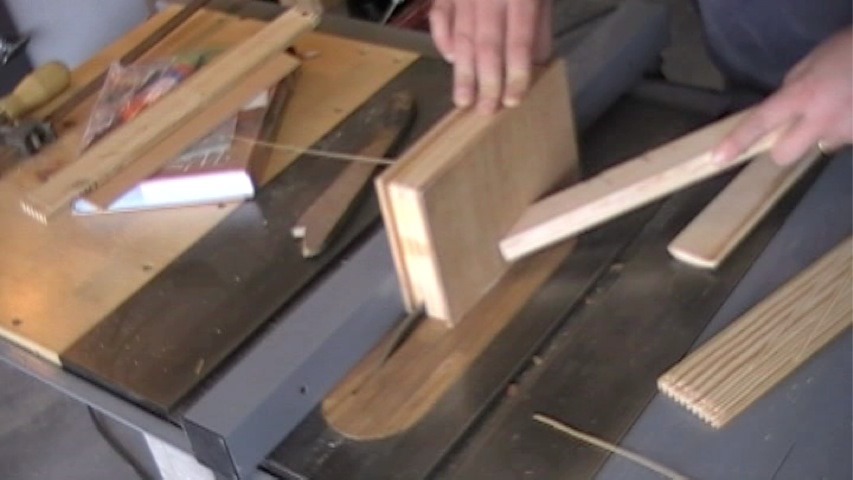
Once we had the size of the box figured out it was time to use my box joint jig I built a few weeks ago.
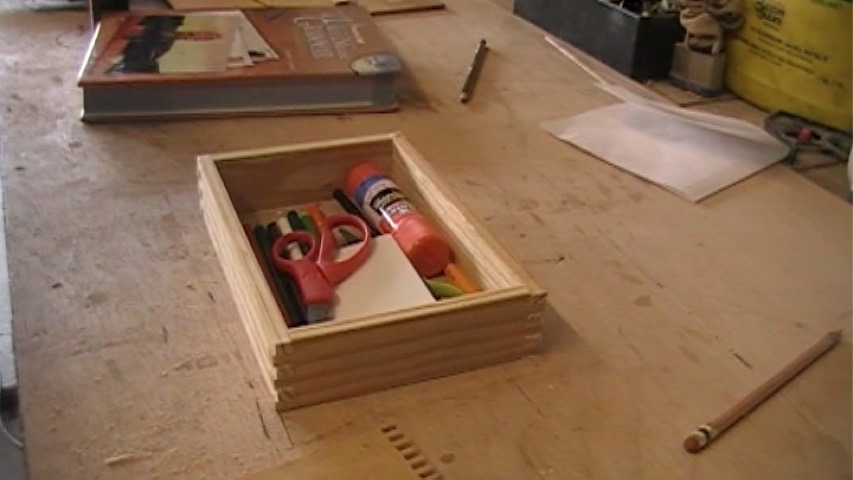
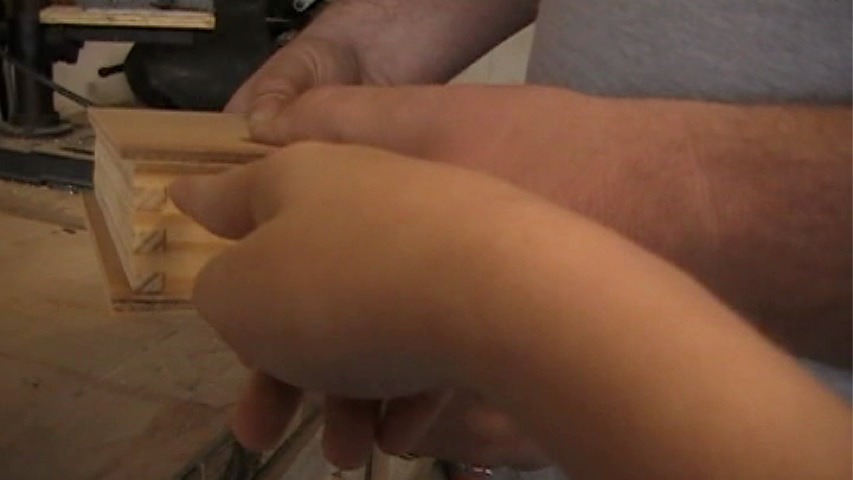
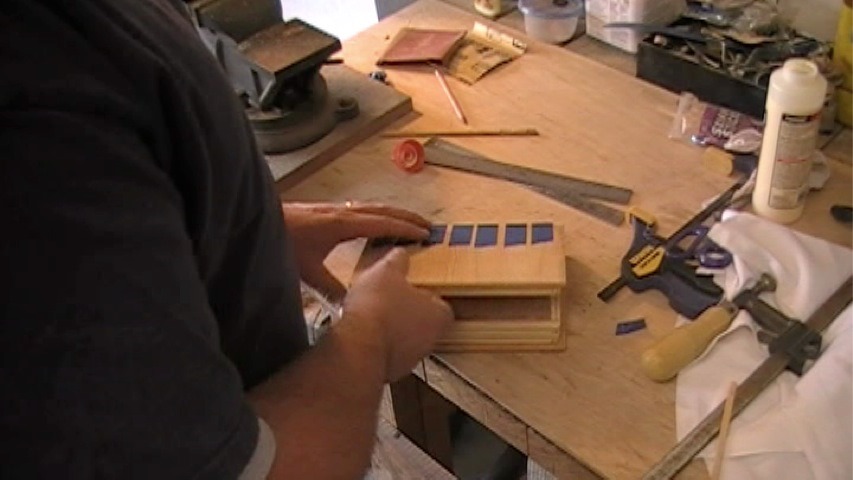
After we finished up with the box joints it was time to make sure all of his crayons, pencils, pens, scissors, and glue fit into the size we chose.
After cutting the top and bottom out…oversized with plans of trimming them down to the size of the box, Wesley made a on the fly design change. He decided it looked like a book with the oversized top and bottom and wanted to leave it like that.Sounded good to me, so we went from there.
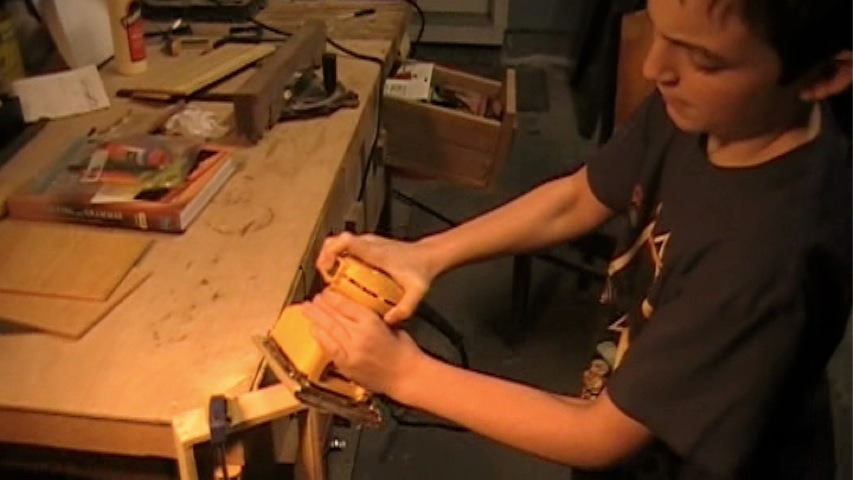
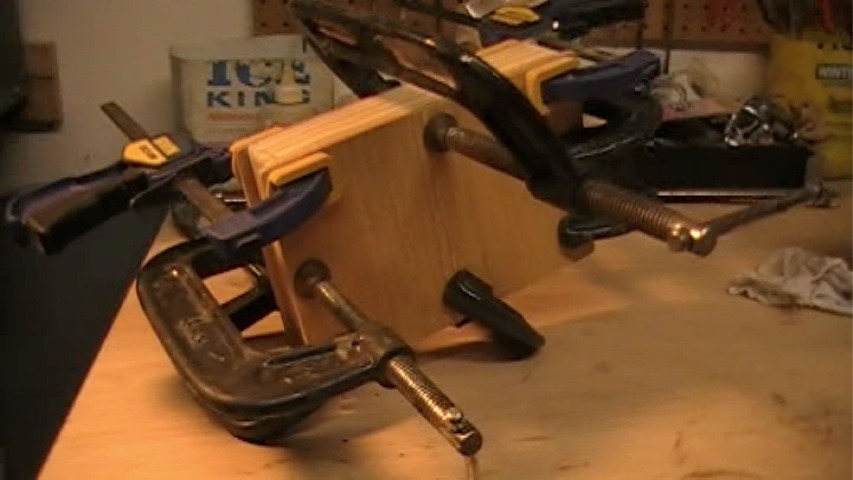
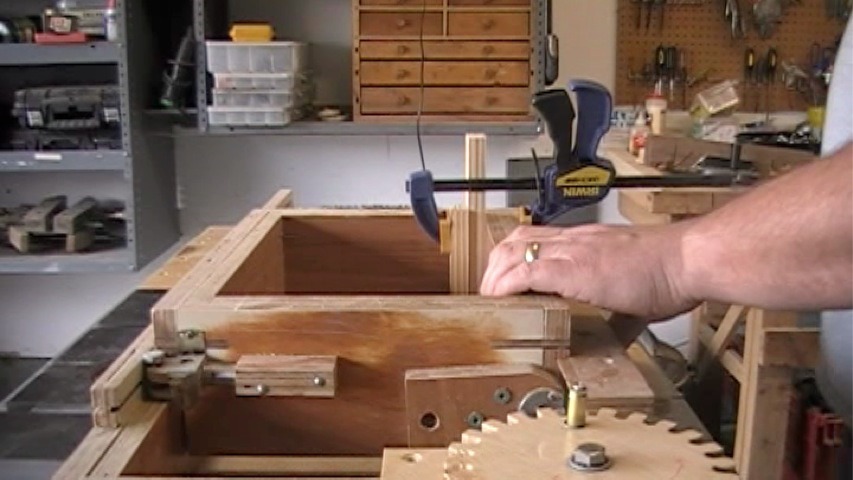
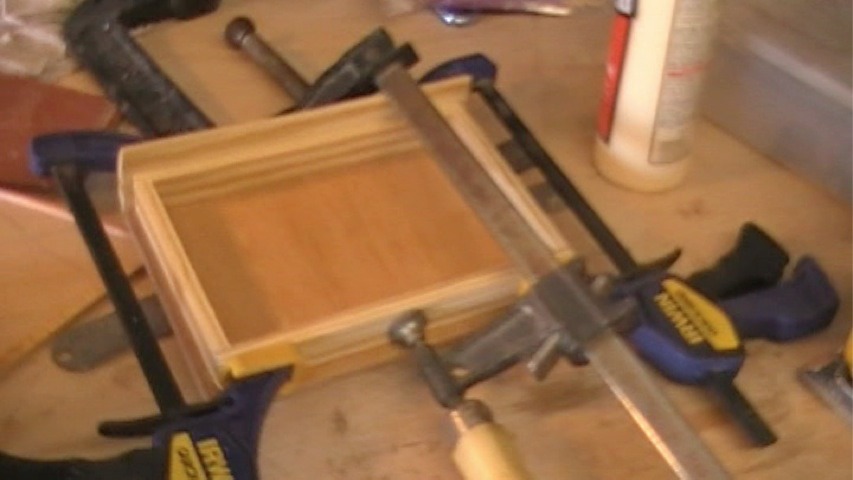
We glued the frame together and let it dry overnight. The next morning I let Wesley start sanding everything down to get ready for the glue up.
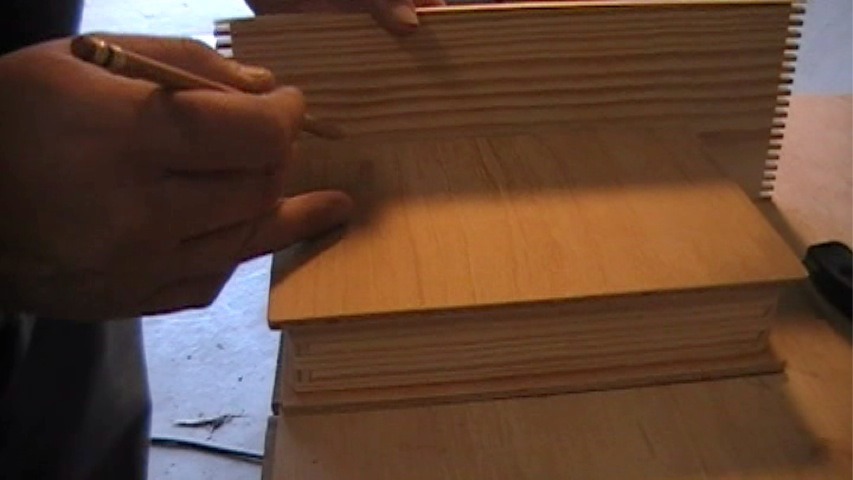
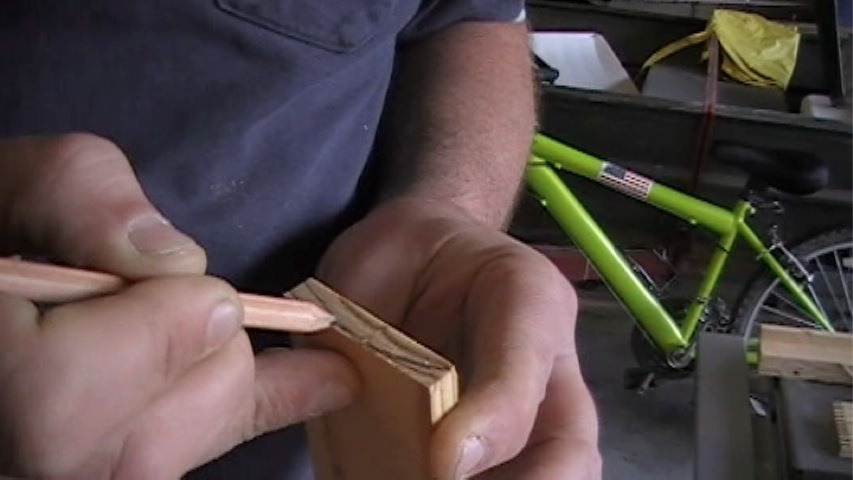
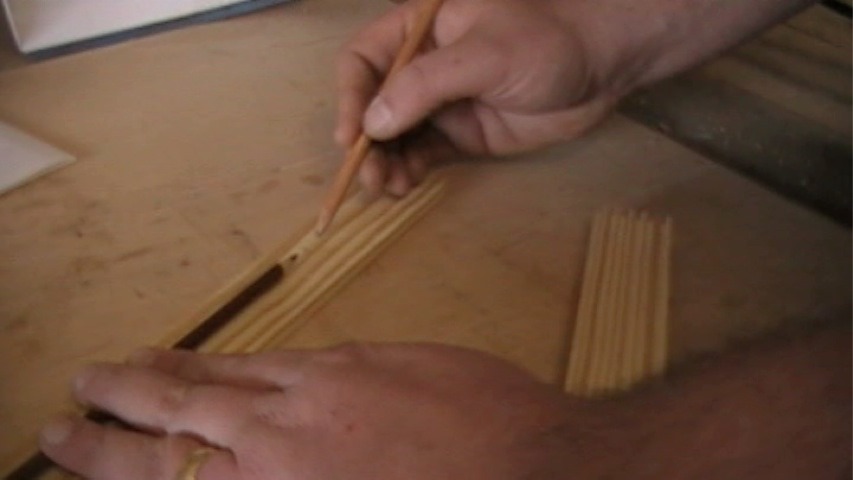
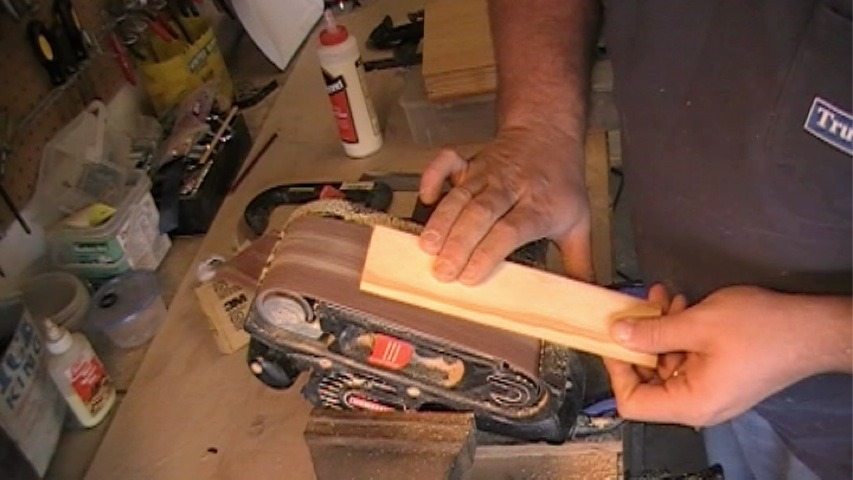
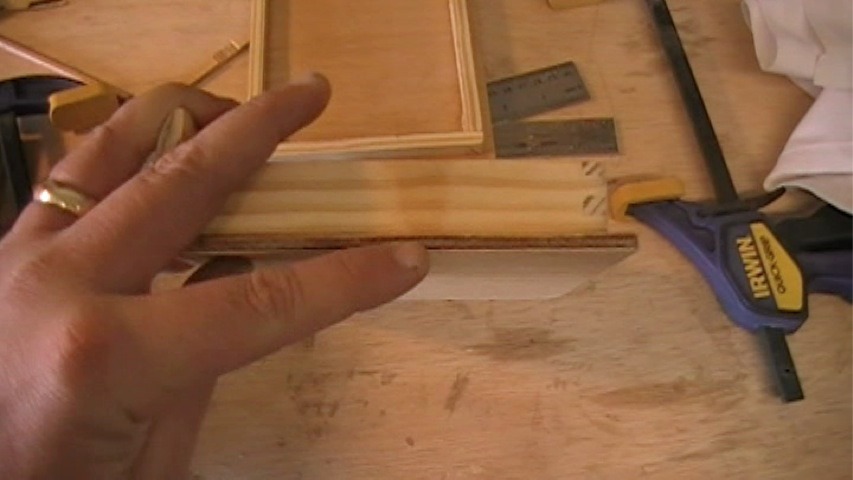
Most books aren’t exactly flat on the end so we had to cut out another piece to round over a little.
I used the table saw to cut away a little from the sides by setting the blade depth to about where I had the line drawn. I made two passes on each side, then went to the belt sander and was able to easily round it over.
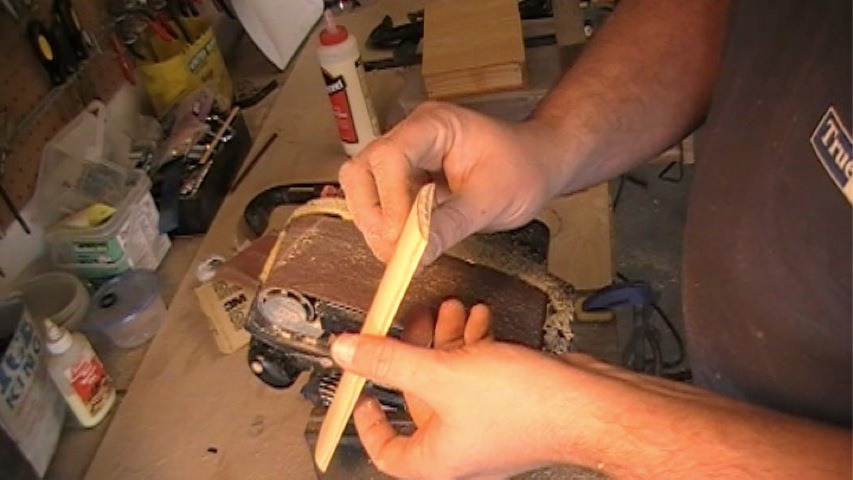
You can see the shape pretty good in this picture.
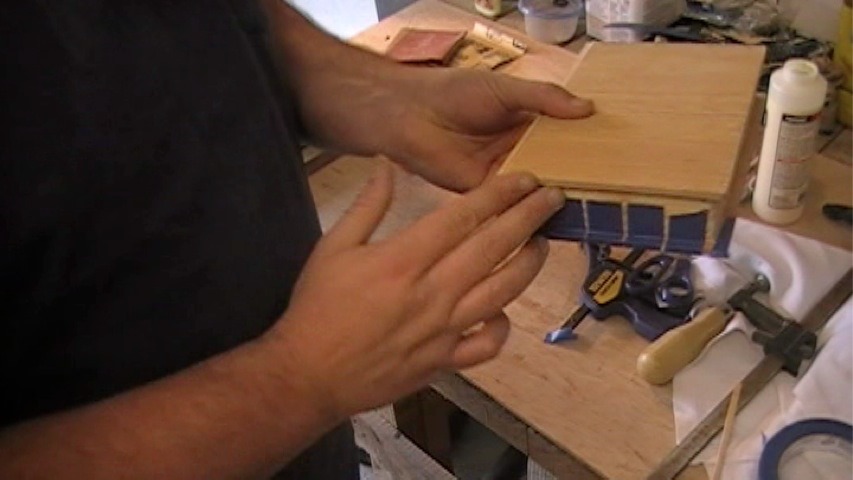
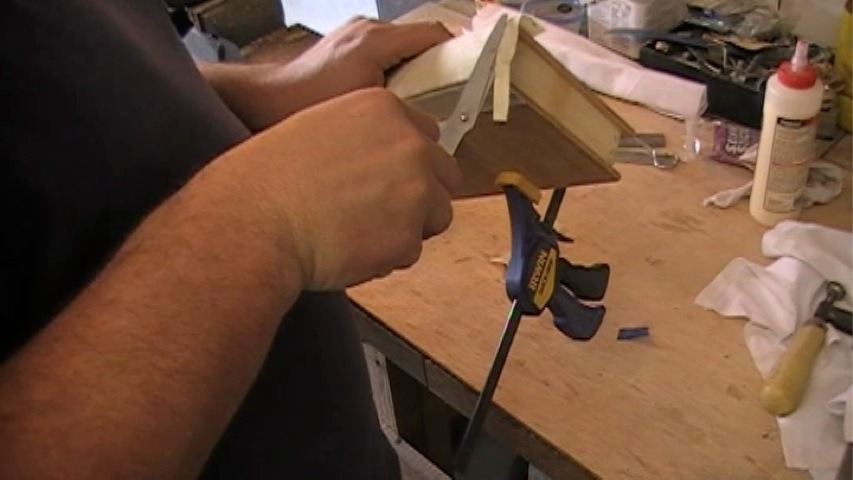
I cut the box open on the table saw. Once I cut one long side open I jammed some wood in the crack so it wouldn’t move too much. I cut both short sides. When I cut the last long side I lowered the blade so there would be about 1/32″ of material left in the crack. I cut that out with a razor knife and sanded everything flush.
Now that the coloring box was split in half I was ready to glue the end cap on to make it look more like a book. I only glued it to the bottom portion of the box because the top opens.
I used some old plywood I had lying around for this project and the laminations had started separating in one spot so I fixed it by squeezing glue in the cracks and taping it shut.
I put tape in place to temporarily act as a hinge to see how everything lined up and make sure that idea would work.
After being satisfied with the hinge theory using the tape, I contact cemented on some stiff cotton cloth that is normally used for cross stitching…I think…then trimmed the excess off with scissors and a razor knife.
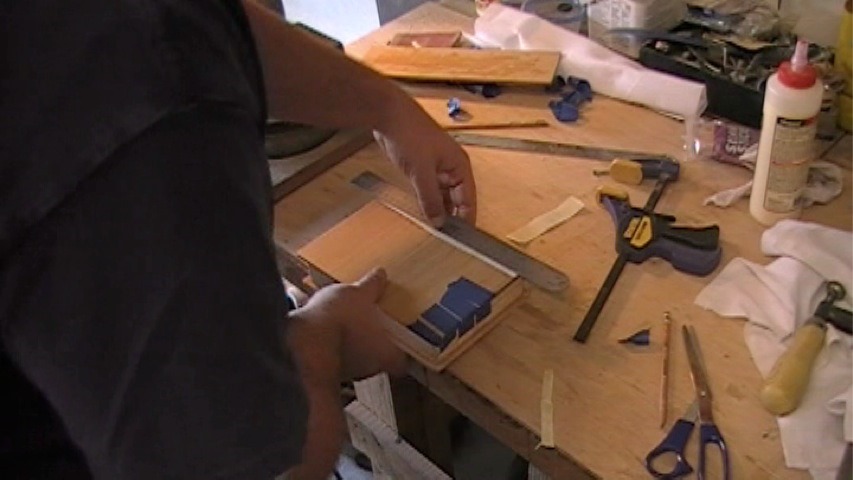

I measured an equal distance on both front and back sides, then used a razor knife and straight edge to cut a straight line in the cloth.
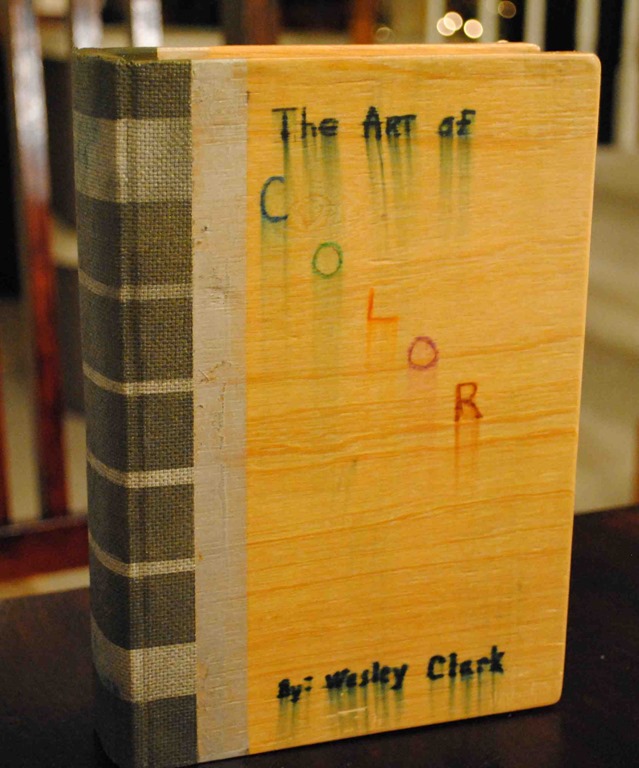
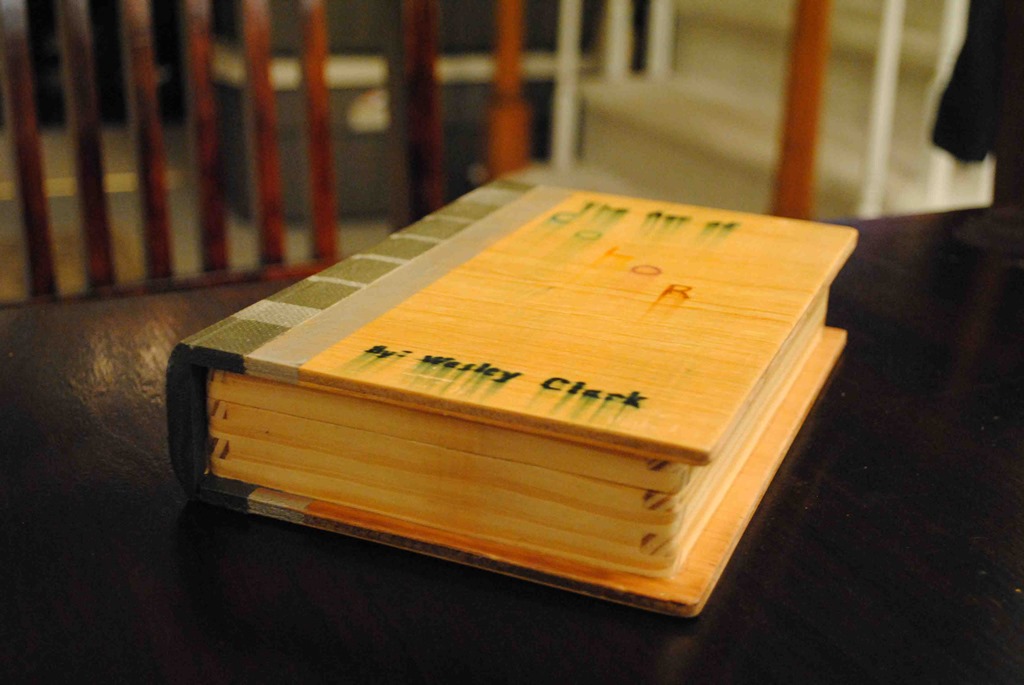
Now it was time for some paint. It looks like those old readers digest books.
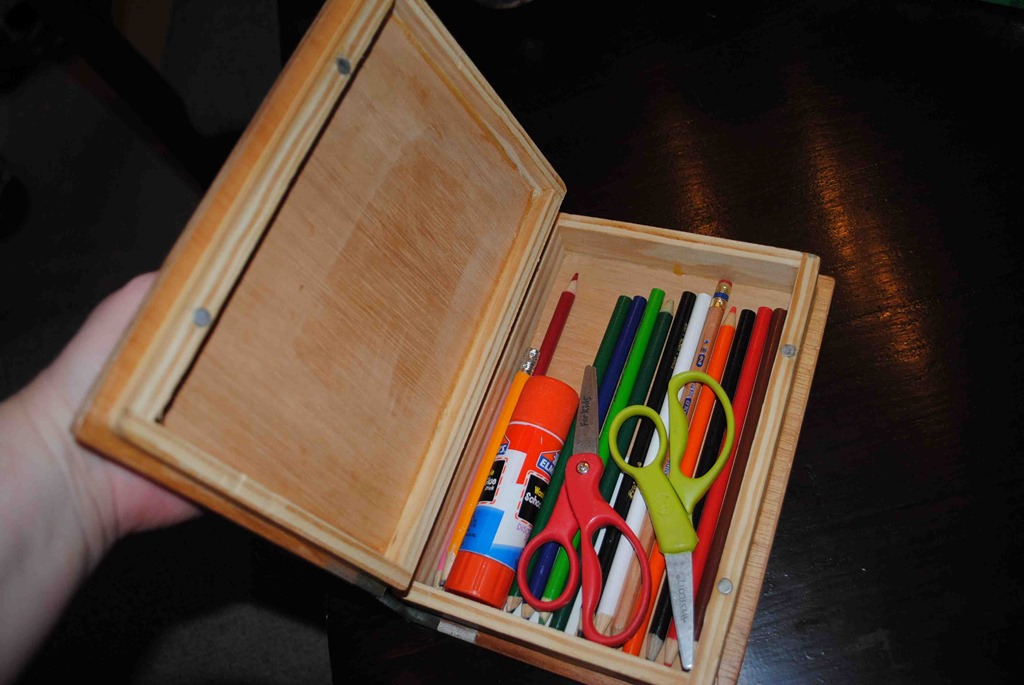
The last thing I had to do was put some magnets in place so it would stay closed and boy do they work. I probably could have gotten away with using just one set, but with the two sets Wesley will not have to worry about it opening up in his book bag.
We came up with a title for his “book” and used his markers to write on the wood. I figured I would seal it up by putting a coat of varnish on afterwards. Apparently I didn’t wait long enough for the markers to dry and they smeared when I put on the varnish. I though it looked pretty cool so I left it like that.
This was a fun project and the best part of it was spending some quality time with my son. Now I have to figure out something the older boys would be interested in building and get them out in the garage!
Category: Woodworking