End Vise for Bench Dog Holes
2014-08-02 written by: Brad

I wanted to add an end vise to my table, but didn’t want to spend big bucks on the traditional ones you see on most benches, so I came up with this idea.
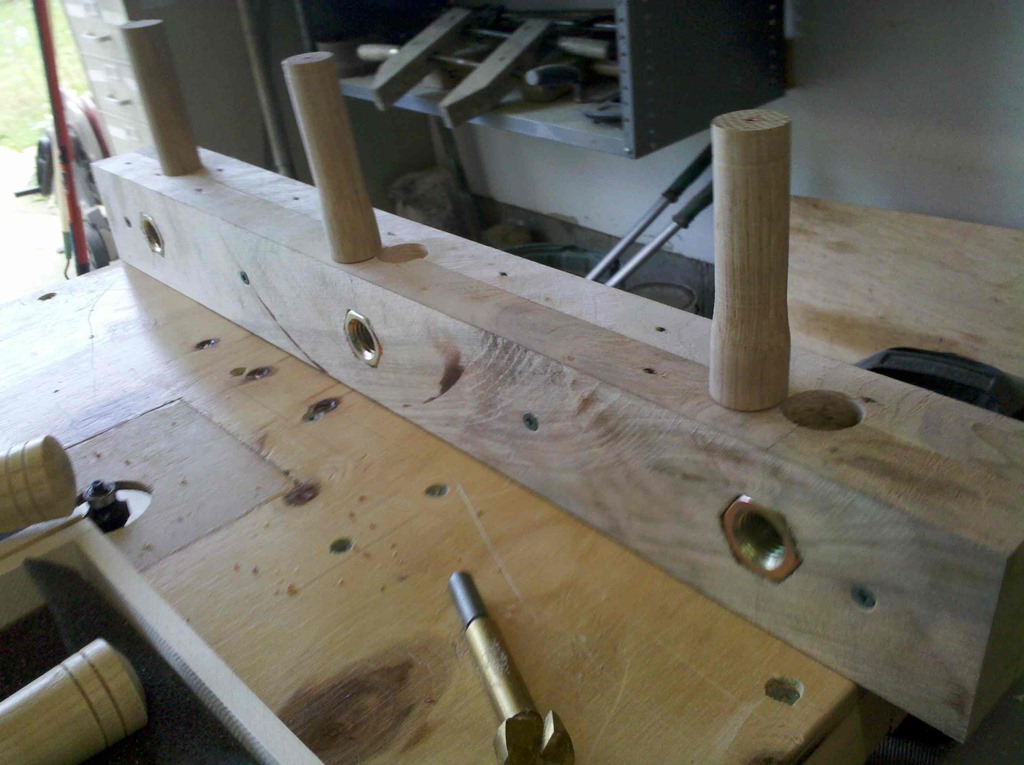
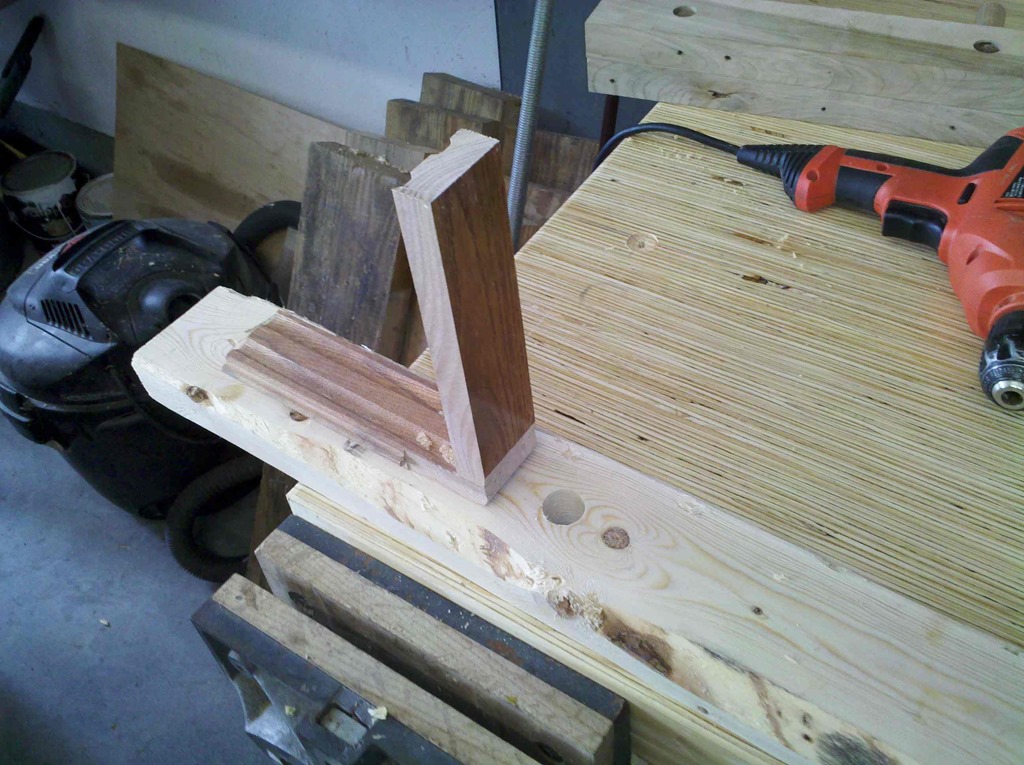
This is a fairly simple end vise that works with the holes that are drilled out for bench dogs. The beauty of it is it can be removed and or repositioned in other spots along the bench. I used two oak boards 24 inches long that I reclaimed from a wooden pallet for this project. I tried to plane it down in hopes I would be able to true up the boards because they were twisted and warped pretty bad. It took a while to get it close enough and I ended up having to just use the table saw as a make shift jointer. I drilled out 1″ holes for the nuts about 3/4 deep then went the rest of the way through the boards with a 3/4 forstner bit. I centered the nut over the 1 inch hole, traced around it and chiseled out the octagon shape. Then pressed the 3/4 nuts in place. I used 1″ oak dowel rod for the pegs and tapered them down to 7/8 to fit the holes I drilled in the bench. I laid out and center punched holes on 9 inch centers on the workbench in three rows to match up with the vise. I will drill them out as needed… really don’t want a swiss cheese work top if I don’t need it.
I made a simple jig to help get the bench dog holes straight by drilling a 7/8″ hole through a scrap 2×4 and screwing on one of my 90 degree clamping brackets I made previously. The back of the drill rests on the bracket, the 2×4 gets clamped down and I just have to keep the drill centered along the bracket. It worked out surprisingly well.Before clamping down the jig I would start the hole free handed just about 1/4″. If you look at the full size image you can see one of the holes started. This helps with alignment.
I cut the all thread bar with a side grinder.

I hunted down a few suitable chunks of fire wood for the handles and used the band saw and table saw to take away a little material before turning them on the lathe. What a messy job, but I love playing around with the lathe.
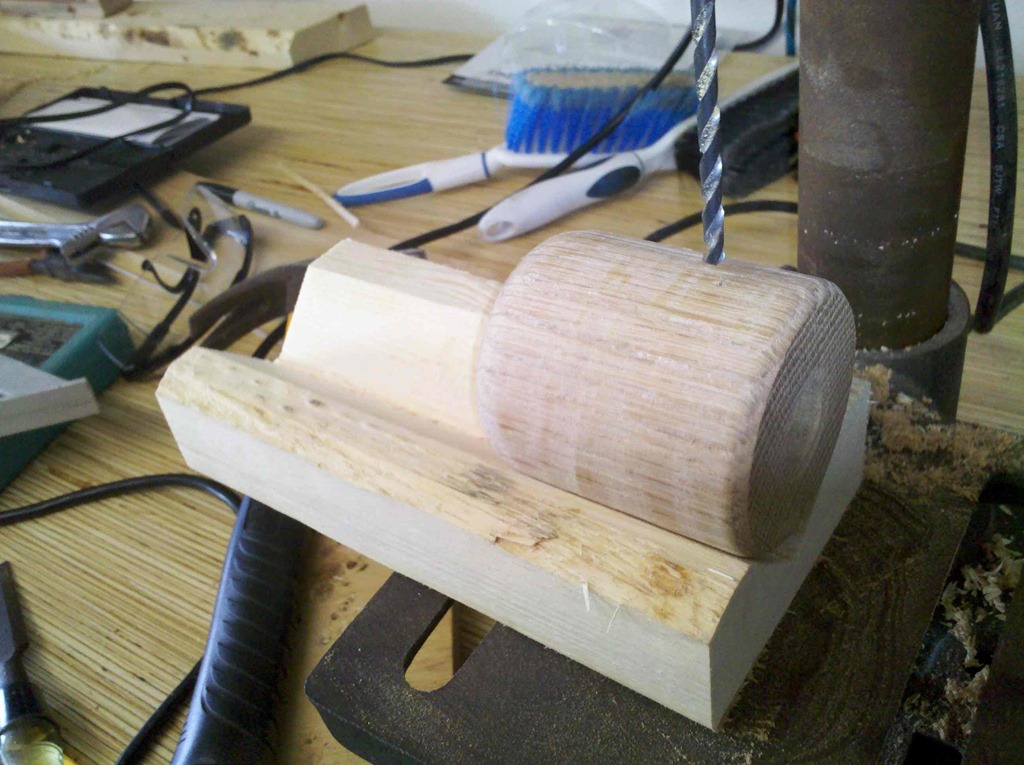
For the handles, I drilled a 3/4 hole about 1 1/4″ deep on one end. Then laid the handle on its side to drill out two holes, one for a 16 penny nail that will pass through the all thread and handle to hold everything together and a 1/4″ hole all the way through on the other side that my #2 Philips screwdriver fits into just in case I need a little more torque when tightening down a work piece.
The 2×4 jig helps a lot with alignment when working with circular objects on the drill press. Just cut a 45 degree angle in a 2×4 leaving about a half inch of uncut wood at the bottom, then spin it around and make another pass. Now you have a nice trough for a cylinder to sit in.
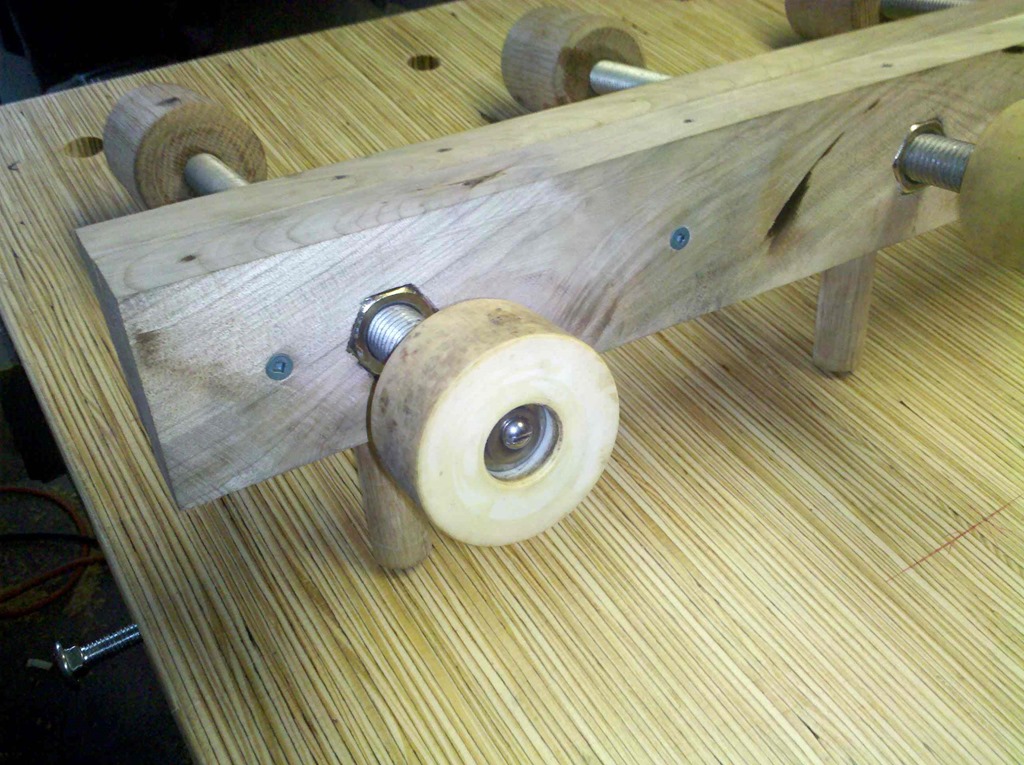
For the clamping side I used old skate wheels I had lying around the shop. (Picked them up from a yard sale to harvest the bearings, never thought I would use the wheels :)I drilled and tapped for a 10/24 screw on the end of the all thread. There is a recessed section of the skate wheels where the bearings used to be so I Inserted two 3/8 washers in the side with the all thread and then screwed the wheels on with the 10 – 24 screw.

Time to try it out… Here I am gluing up the top for my wife’s future coffee table and using old laminate flooring to save my workbench from getting glue all over it…that stuff makes a great assembly surface. Wood glue just will not stick to it. I use it for my zero clearance inserts too.

Category: Woodworking