Making Lugs For 3/0 cable from copper pipe
2016-11-12 written by: Brad
I am gearing up to install a solar powered system out at my cabin. I have been trying to mock up the installation at my home where I have plenty of tools and power to work with in hopes I can get everything done when I am onsite. One of jobs at hand is to build some large battery cables that can handle the large amperage and low voltage that feeds my 12 volt inverter. My inverter is rated at 2000 watts continuous and 4000 peak. Doing a little math reveals my cables should be able to handle 166 amps…and as usual I went overboard and bout 3/0 cable that can handle much more than that… That sounded good at the time of purchase, but when I tried to find crimpable lugs at the local box stores there were none to be found. My only option was to order online or try and make my own for a fraction of the cost.
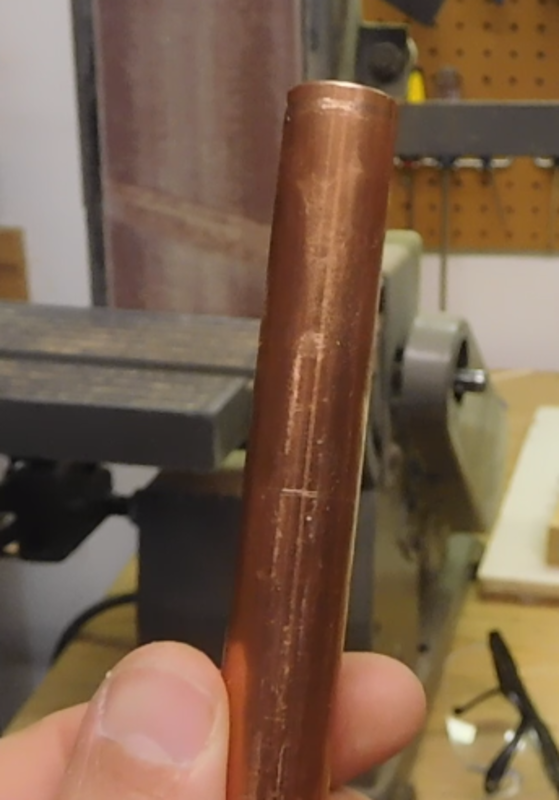
Looking around the store I came accross a short section of heavy guage copper pipe. I believe it was 2 feet long and was under $4.00 which is way cheaper than what lugs costed when I did a little research online. I figured I wouldn’t be out too much money if it failed to work out so I picked up the copper tube.
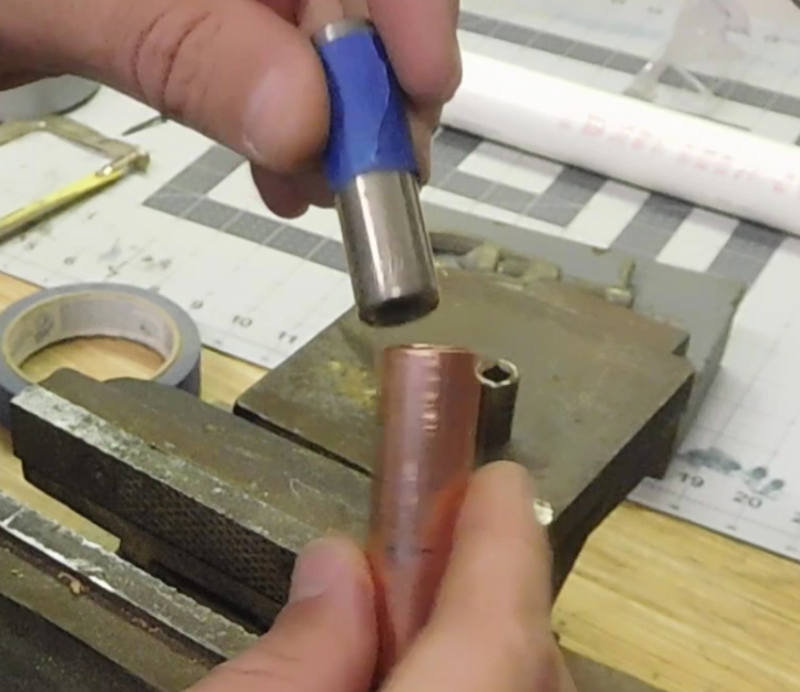
To make sure the copper pipe didn’t deform while I pressed a portion of it flat I found a socket that fit just right into the tube. At first I used a standard socket and nearly wasn’t able to get it out of the lug, so I swapped to a deep well socket instead. I added some blue painters tape to indicate the depth to insert the socket so I would end up with consistent sized lugs.

I used my large vise and a cheater bar to flatten one end of the copper tubing to create the lug. To get the socket back out I found it helped to actually hammer the socket deeper into the pipe a bit then tap it left and right and it usually would come right out. I was able to make several lugs this way in a matter of minutes.
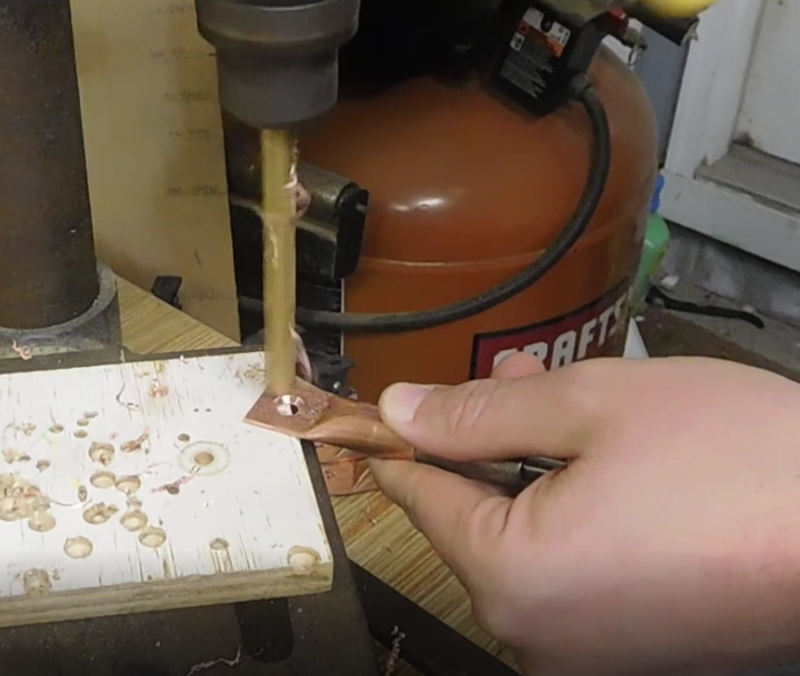
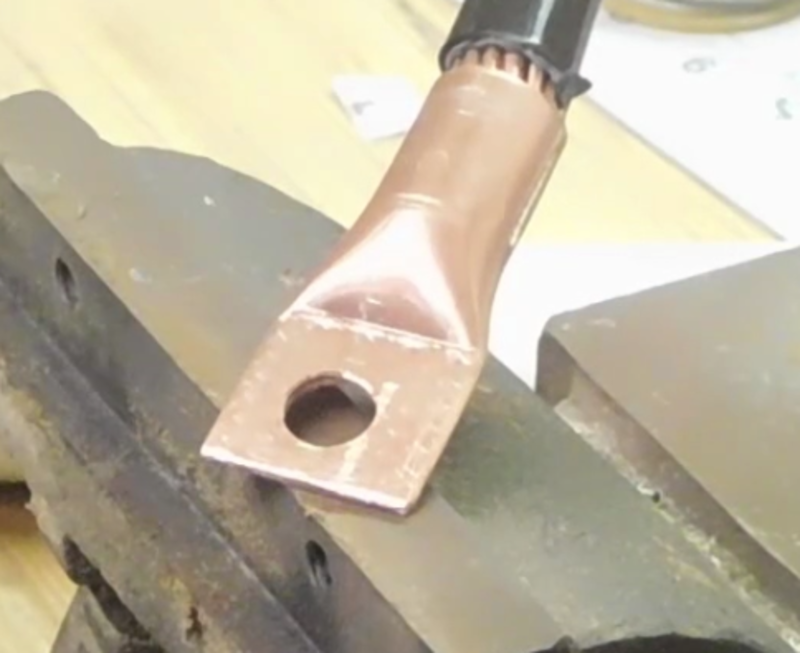
I scribed a center mark and center punched each lug then drilled it out with a bit slightly larger than 3/8 so I could bolt it to the terminals of my batter bank. I used the same socket and an extension on it while drilling the holes so I could control the lug and keep it from spinning if the drill bit got caught.
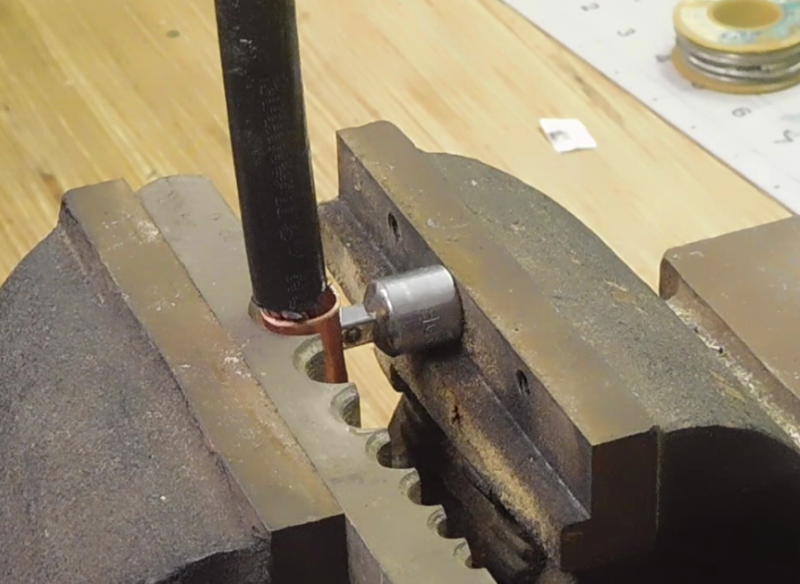
The best method I came up with to crimp the lugs was to use half of a flaring tool, my vise, and a 1/4 to 3/8 socket adapter. The small surface area of the socket adapter allowed good penetration and crimping of the lug. In my mind I compared it to the mechanical lugs I had seen where a set screw was used to attach the cable…this should have similar results. I removed the teeth from my vise which helped lining everything up.
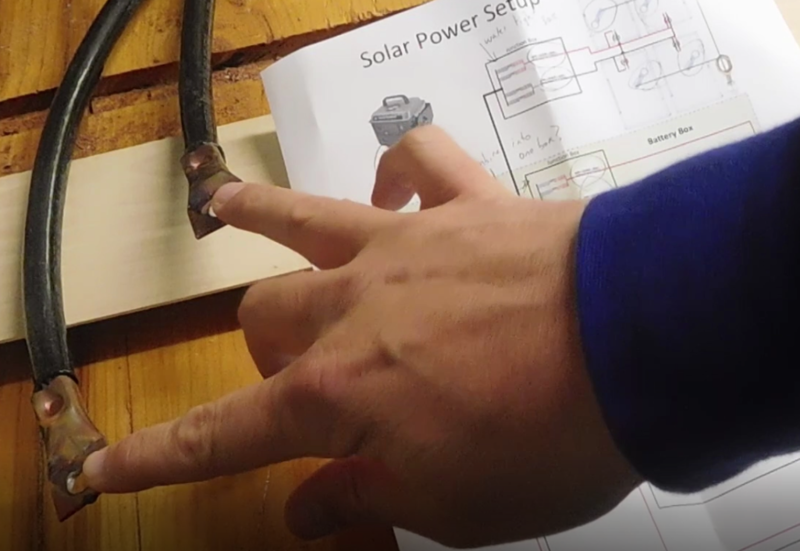
The final cable turned out pretty good. If I run accross some heat shrink I can fit over the lugs I will go ahead and add that later, but for now it is time to move on to the rest of the mockup installation of my solar power system for the tiny cabin in the woods.
Category: Cabin Project