Medical Bottle Holder Project
2014-08-02 written by: Brad
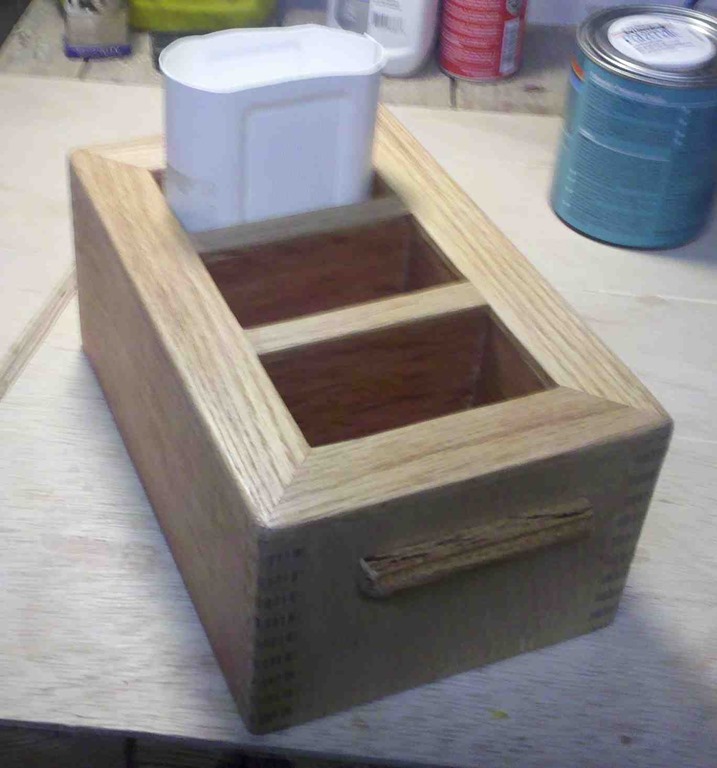
My next door neighbor, who is a nurse, asked me to build a container that would house medical bottles in order to prevent accidental spillage. When there is an accidental spillage there is a lot of paperwork that must be completed in order to document the spill and this container is built to prevent those ocurances.
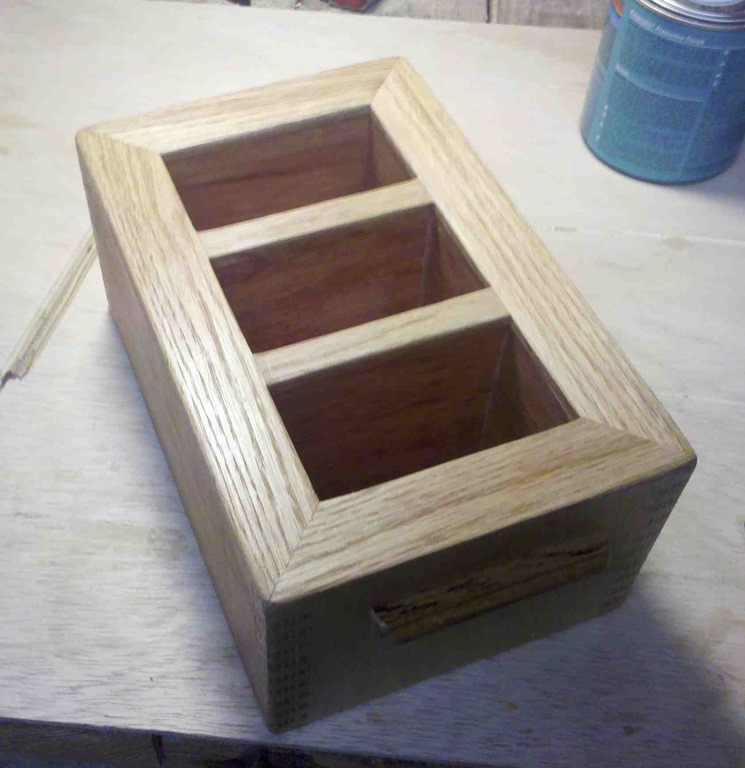
To reduce the risk of spillage, I built this box specifically designed for the bottles. The conntainer is designed to hold up to three bottles and is quite heavy because I used hardwood plywood and doubled the outside of the box. It weighs in around 5 pounds. They shouldn’t have anymore problems with accidental spillage.
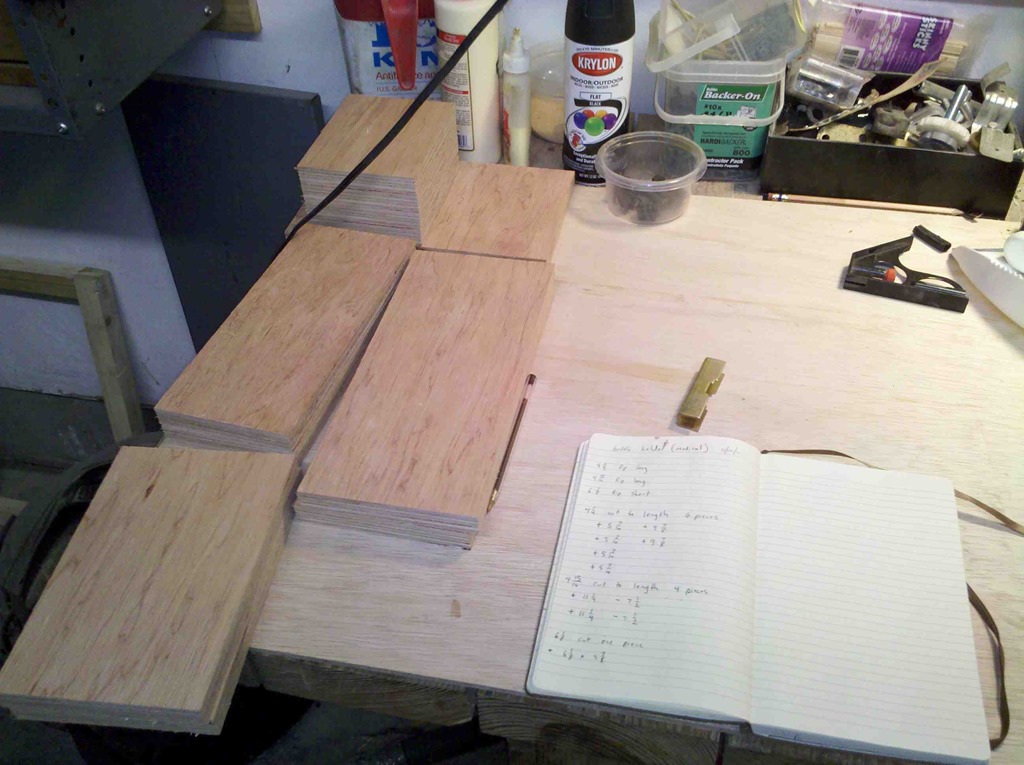
I used Google Sketchup to design this box and was able to cut all the pieces out at one time. This method really sped up construction, gave me a very accurate count of the material I would need, and helped layout the joinery.
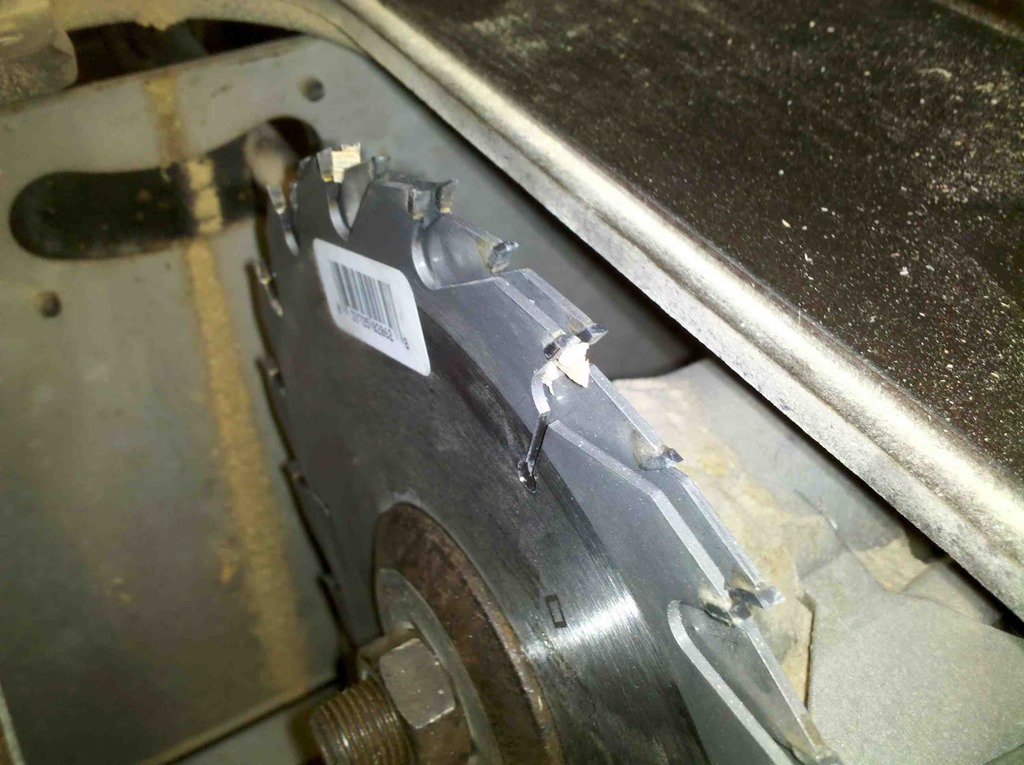
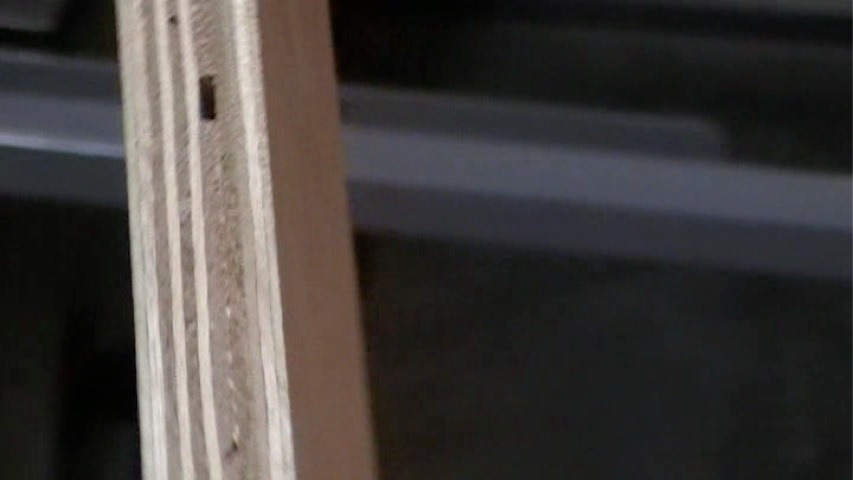
Among several other tips and tricks, one I tried out was a stacked dado set made with skill saw blades. I had to shim between each blade to get the cut to the exact 1/4″ thickness I was looking for. This combined with my box joint jig really sped up the process of making the finger joints/box joints. In this photo you can see the draw back of using this type of a dado system. Wood gets caught in between the teeth at times and you have to actually stop the saw and pick it out. A regular dado set costs around $50 bucks, and this only cost about $15, so I think I can deal with the occasional cleaning of the blade.
Plastic shim made from 2 liter soda bottle and another super thin plastic shim, used to get the final dimensions to 1/4″ inch.

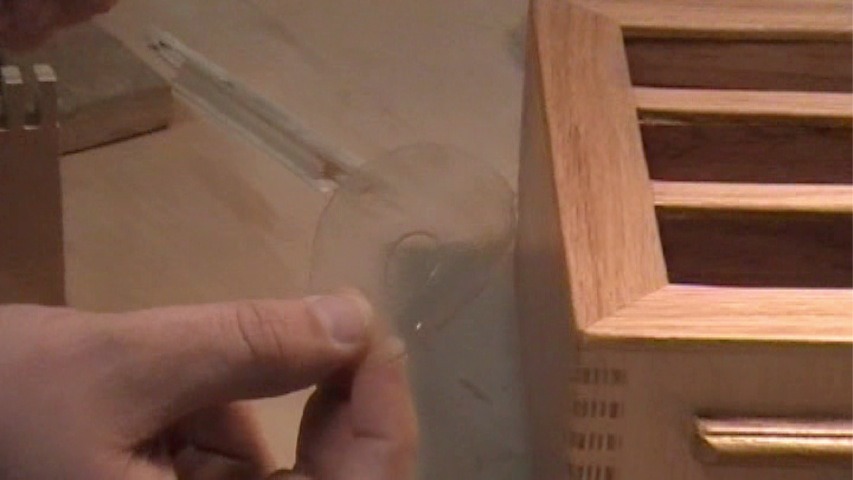
Plywood and box joints usually don’t go together too well and I ended up having one really bad blowout. I was able to repair it by cutting out a piece of Oak and fitting it into the whole left from the blow out. I sanded it down flush on both faces and the result turned out well. You can barely see the repair just ahead of my finger.
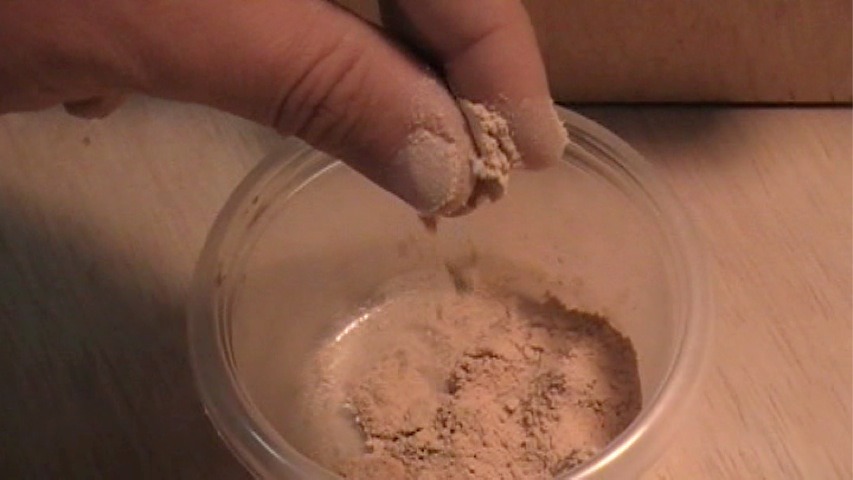
The box turned out pretty good with the exception of a few really small gaps in the plywood fingers and one really bad spot that revealed itself after sanding through the super thin layer of veneer.I used homemade wood putty to fill the gaps, and it worked extremely well for small spots, however the large spot I used it on really stuck out.I made the wood putty by using powder fine sawdust from my sander, and mixed it with wood glue.
The plywood I used was some expensive hardwood plywood I bought from Lowes. At first glance it looked like some really good plywood, but after using it in this project, I realized it does have some limitations.The biggest drawback is it has a super thin layer of veneer on the front and back faces of the plywood. It takes very little time to sand through the veneer and you are left with a fairly ugly finish if you are not very careful.
Category: Woodworking