Screw Advanced Box Joint Jig
2014-08-02 written by: Brad
I ran across one of the most inspirational websites I have ever seen (woodgears.ca) and decided to build a screw advanced box joint jig like the one on his site. I made a few changes to the design by adding a spring tension system in the back of the carriage….maybe not the best idea, I should have just bought his tried and true plans, but what is the challenge in that?
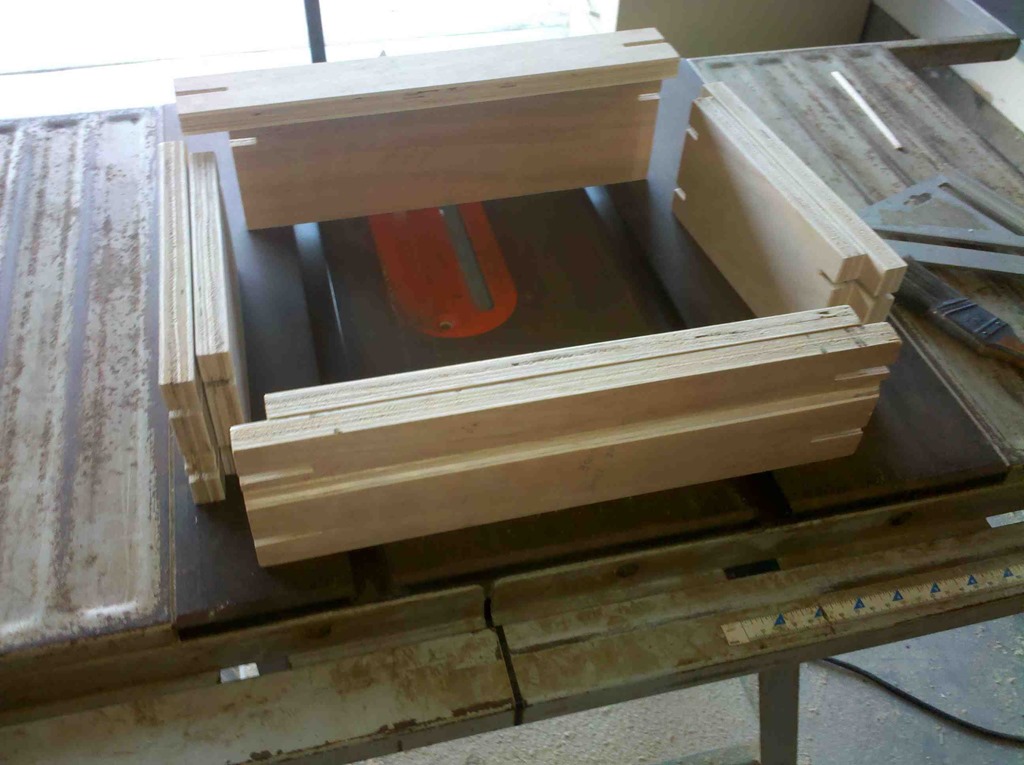
I redrew the jig in google sketchup because I wanted to make a few changes to the design and also I figured it would help me build it in my mind before ever cutting any boards.In this picture is some of the components pulled directly from the sketchup drawing, laid out and cut all in one operation. This would have taken me forever to do if I tried to lay it out as I went.
I was amazed at how well everything lined up straight off the saw. I did take time to make very acurate measurements while laying each piece out. Doing it this way enabled me to make all similar cuts to all the components at once.

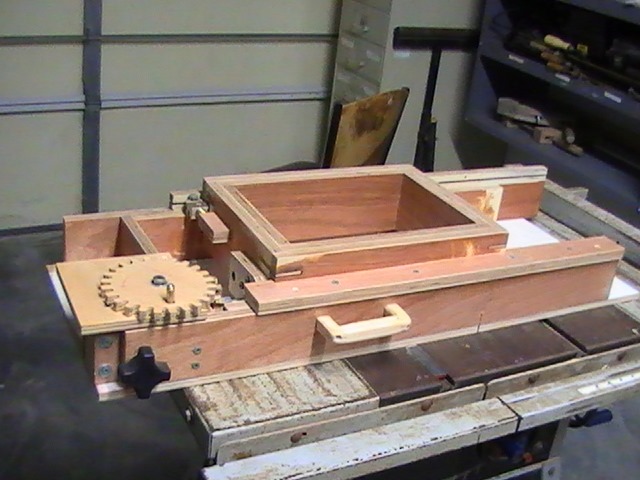
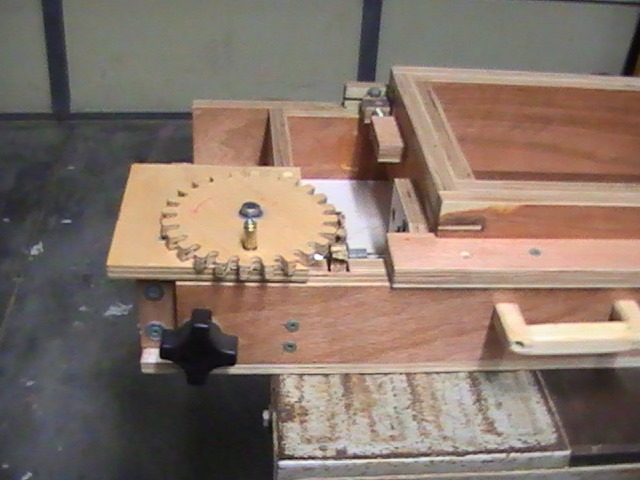
I was so excited once I had made it this far along, I decided to do a quick mock up and see how well the carriage traveled down the rails.When the carriage moves away from the gears it cocks the far front corner away from the front rail, and when goes the other direction it cocks the carriage in the other direction.At this stage it was apparent exactly why there needs to be some sort of mechanism to either pull the carriage to the front side rail (original design from woodgears.ca) or push the carriage to the front side rail which is the method I had designed.
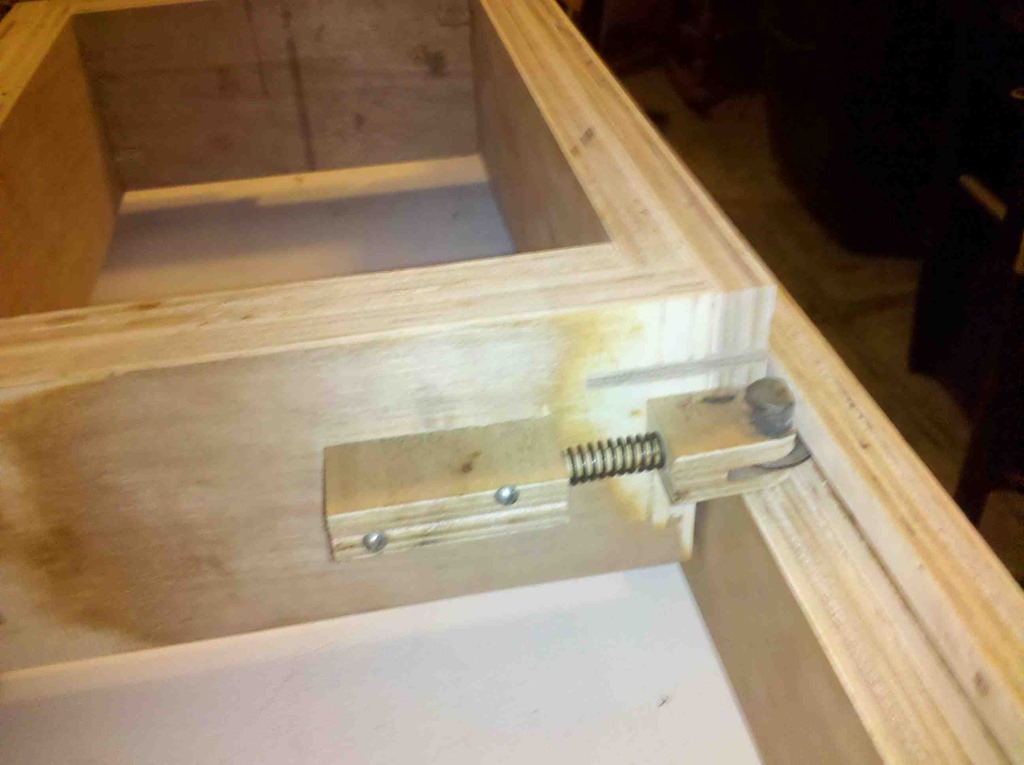
This is what I came up with for the spring tension system. There is a washer that rides in a groove on the back rail and is under constant tension from the pressure of the spring. The front portion of the tensioner has a notch cut in it large enough for the washer and a wooden dowel glued to the end. The dowel rides in a block attached to the carriage and the spring applies the pressure.It took a while to find a spring that gave just enough pressure to keep the carriage from cocking to one side or the other when it traveled down the rails.Mathias pointed out that over time this design may cause the bottom plywood to warp which does make sense. I thought about figuring out a way to easily relive the pressure, but I decided to just let it go and see how it holds up over time.
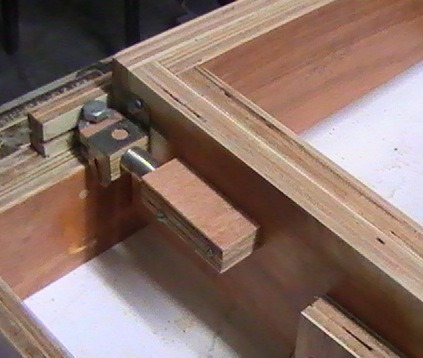
I had to add a small bracket to keep the tensioner from spreading away from the carriage.It was kind of a bummer what Mathias pointed out, because this was one of the main reasons I redrew the jig in sketchup…that and I wanted to build it from readily available hardwood plywood from Lowes and had to change the dimensions of the carriage and rails.
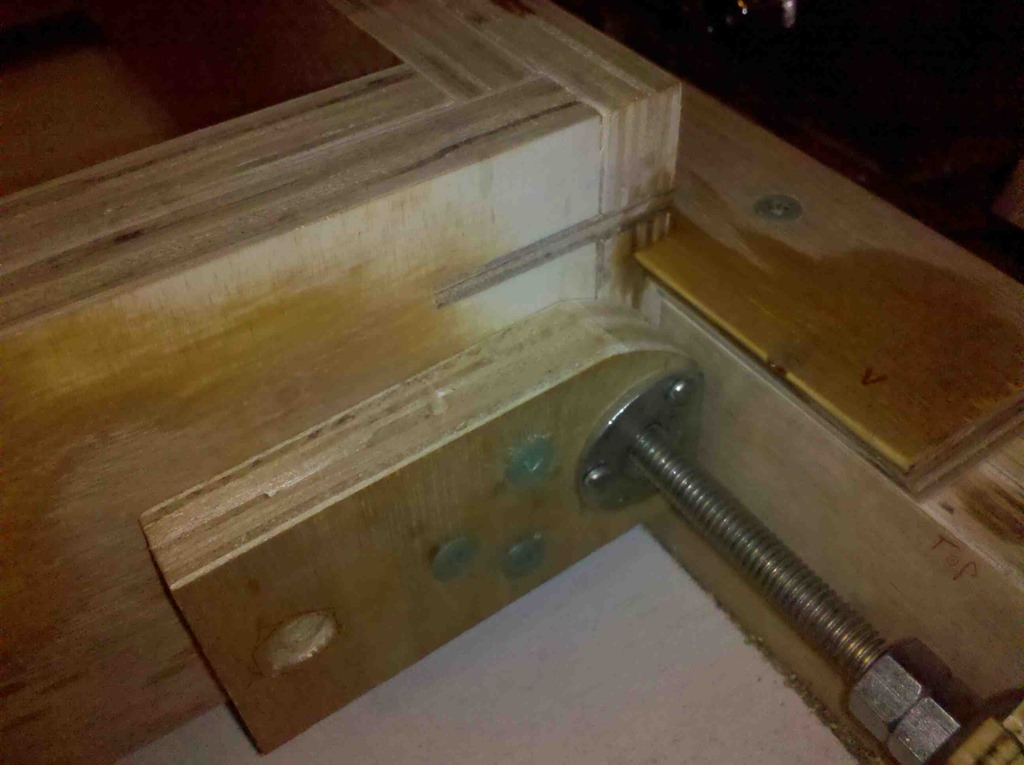
I couldn’t find a 3/8 tee nut at lowes when I bought my other hardware, so I came up with this alternative.I drilled a 3/8 hole all the way through and a 9/16 hole partially through the block just deep enough to sink the nut flush with the face of the block, then pressed a nut into the hole. This created a octagonal hole with little fuse, but the nut could be pushed out too easily.I coated the hole with some JB Weld and squished the nut into it. I made sure to run a 3/8 bolt through the nut prior so no epoxy would get on the threads. Once I had the nut in place I ran the bolt in and out of the threads to ensure no epoxy had gotten into the threads.Finally I took a 1/2 washer and predrilled a few holes in it and attached it as a cover plate over the nut.
So far it is working well.
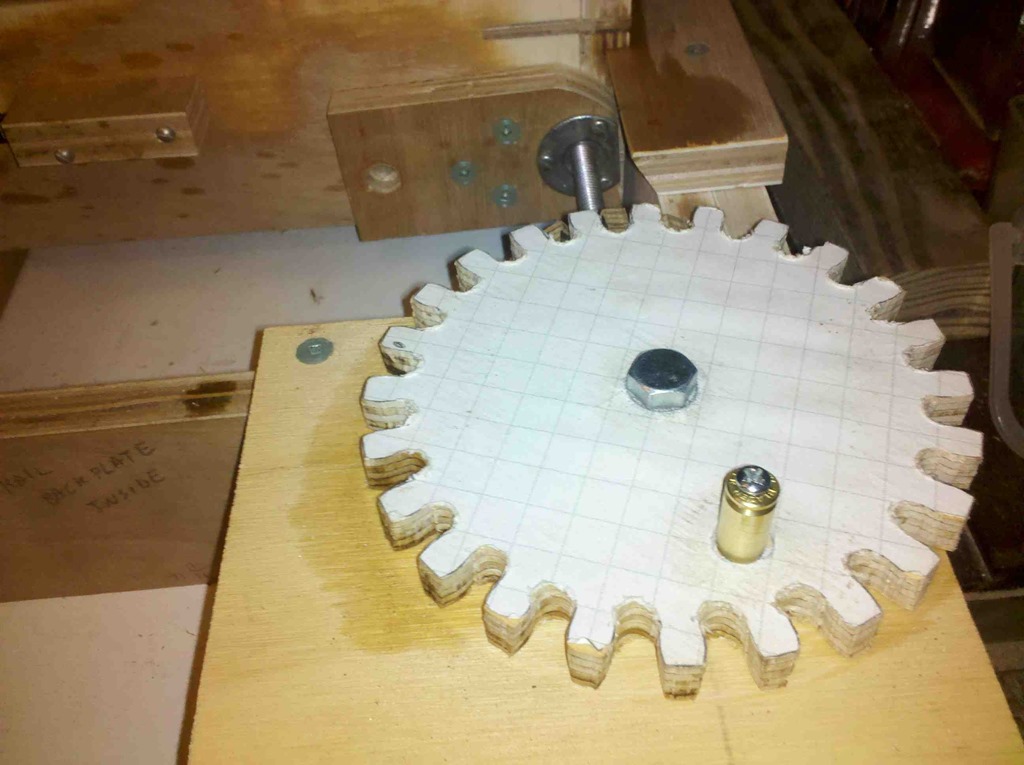
For the handle on the main gear, I thought I would use a spent brass casing from a 9mm handgun with the primer removed. Probably not safest thing and not advised if you are unfamiliar with ammo.However, it actually works very well. Being brass, it has little resistance and spins freely on the screw.
My design changes had several flaws from the original sketchup drawing I made. One thing I learned is if you are going to work directly from a 3d CAD type program you had better have every single component designed, in place, and virtually and functionally verified.Everything I decided to design ‘on the fly’ had issues and usually resulted in having to modify the drawing and at times major components already built. I had to extend my already cut to length side rails because I didn’t draw out the spring tension system. Another issue I ran into was not enough wood to secure the bearing in the bearing block. I didn’t know the size of the bearing I was going to use so I didn’t add it to the drawing and it bit me too.
All in all it was extremely fun to build. This is the first ‘mechanical’ thing I have ever created using wood and I loved it. So far I have used it to build some simple drawers for my storage cabinet I found at a yard sale a few weeks ago.
Category: Woodworking