1/6 scale Furniture–Dry Sink with Plans
2014-08-03 written by: Brad
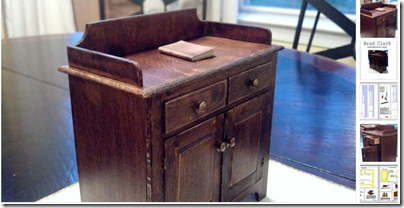
This is a pretty fun project to build and certainly makes a nice conversation piece, as do all of the scale furniture projects I have built and made plans for.
http://plan-to-build.com/downloads/16-scale-model-dry-sink/
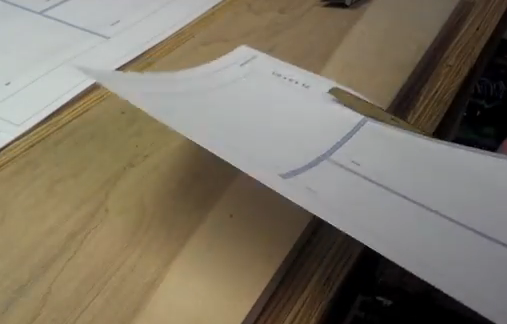
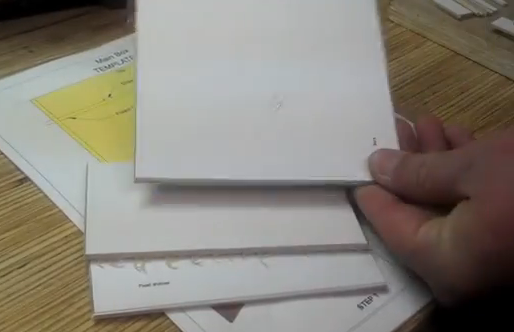
After printing out a set of the plans, I start by trimming out the cutsheets. You can use scissors or a razor knife and straight edge, which ever you find easier to use.
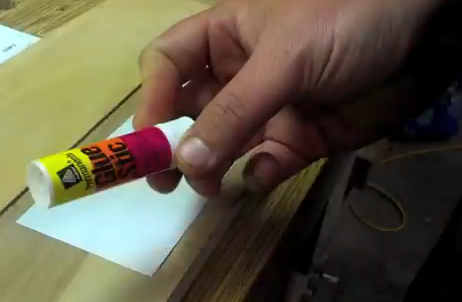
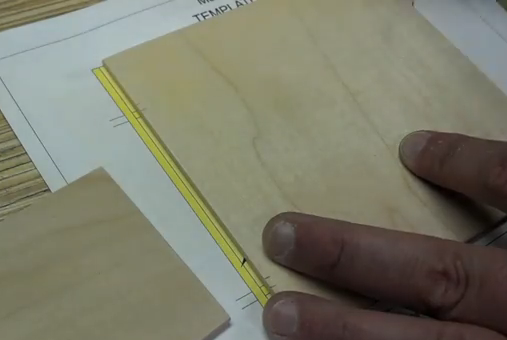
Use a Glue stick to attach the cutsheets to the wood sheet. Be sure to get a good coating on so it doesn’t come unglued while you are cutting the parts out.
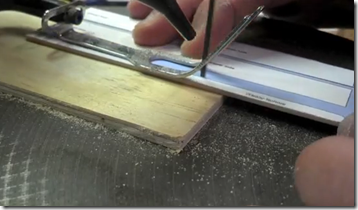
Next Cut out each piece using either a scroll saw or band saw. Be sure to cut as close to the line as possible, but do not cut the line away. It is always better to have too much material that can be sanded away than not enough.
At the beginning of each step gather all the parts you will need and sand each piece as necessary.
In Step 1, begin by transferring the shelving alignment marks to the back and sides, this will assist with installing the shelves later. Also transfer the drawer alignment marks to the top shelf.
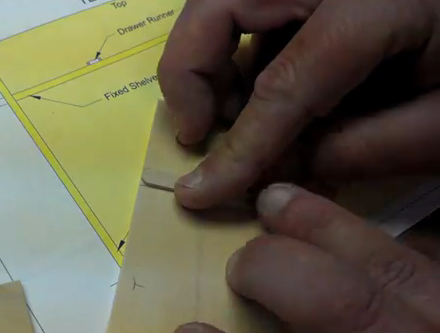
Now use those marks to Attach the drawer runners.
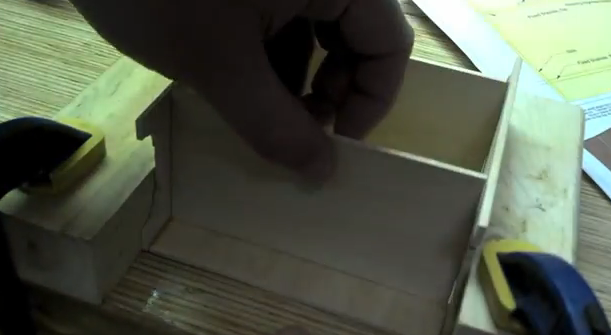
Assemble the sides, back and shelves. lay the back down and stand the sides up on the work surface then clamp between two scraps of wood. For the sides, You’ll notice that one side of the leg is larger, ensure it is flat on the work surface. Place the shelves along the shelving alignment marks made earlier and glue in place.
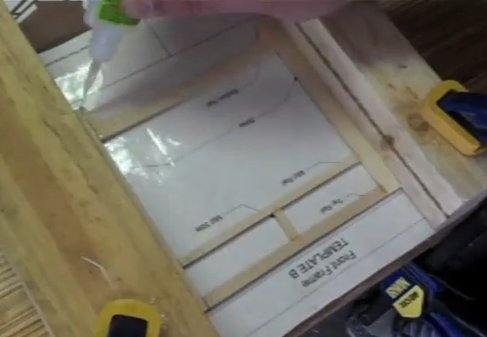
Build the front assembly directly over Template B.It is always a good idea to Protect the template with clear packing tape or wax paper before gluing down the parts.Set the parts over the template, then clamp between two scrap pieces of wood. Make final adjustments to each piece to ensure it is properly located within the lines, then glue in place.
It is easier to fit the doors in place before mounting to the main frame, so I’ll build them next.
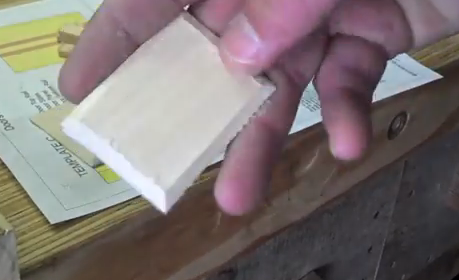
I sand a bevel into the door panels to give the raised panel look.Then build the doors directly over template c. I place a piece of card board underneath the door panel to raise it slightly above the door stiles and rails. Next I clamp between two scrap boards and, ensure everything is lined up then glue in place.
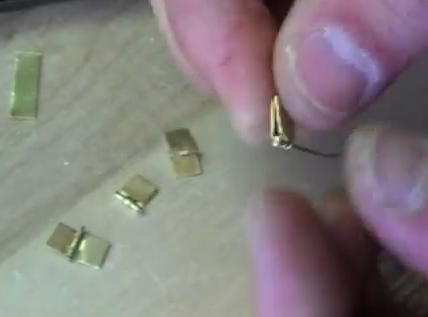
I add homemade scale hinges to the doors. The hinges aren’t too hard to build if you have the right tools and materials on hand, alternately they can be bought online for a few bucks. And there is always the option of just gluing the doors in place permanently, but what is the fun in that?
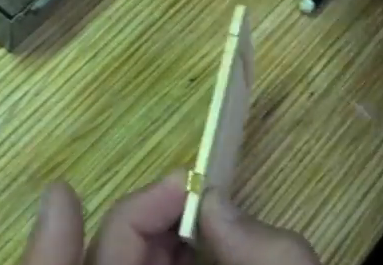
After cutting a notch in the door for the hinges to sit in I glue the hinges on with super glue…this is not the best method because the glue has a tendency to seep into the hinge mechanism and jam the hinges up. I’d appreciate comments below with a better method if any one has a suggestion.
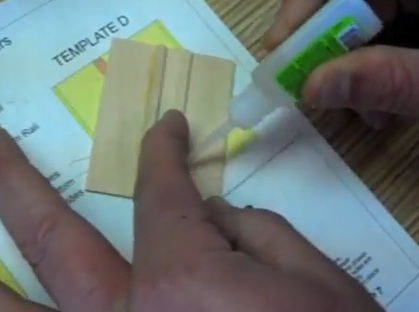
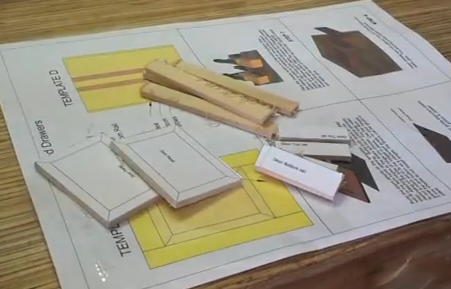
I begin making the drawers by marking the location of the drawer guides to the drawer bottom using template D, then glue the drawer guides in place.
Place the drawer bottom on a flat work surface, then sandwich the drawer sides and back between two blocks of wood. Once everything is lined up, glue in place. I’ll glue the drawer front on in a separate step.
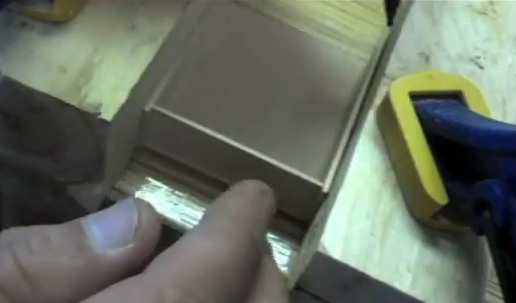
Line up the front frame over the main box. There should be about 1/16th if an inch of the bottom shelf showing above the Bottom Rail and the top shelf should be flush to the mid rail.
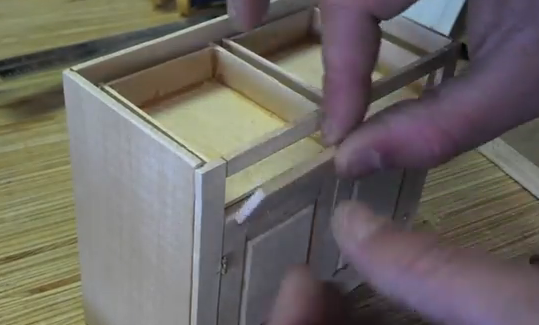
Now insert the drawer box into the cabinet and fit in the drawer front. This ensures proper drawer alignment. Apply a small portion of glue to the drawer front ensuring not to get any on the front frame. After a few seconds remove the drawer and apply the glue along all the edges of the drawer front.
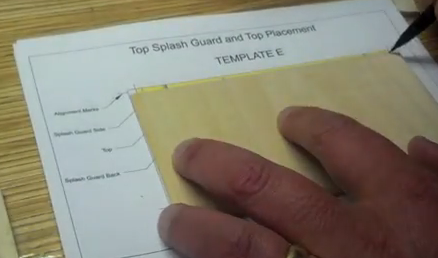
Using Template E transfer alignment marks to the back side of the top then flip it over and mark the locations of the splash guards.
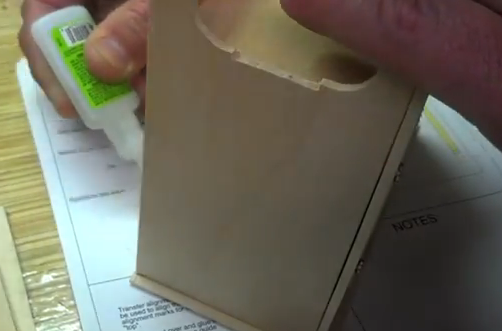
Now place the main cabinet over the top and use the alignment marks as a reference and glue in place.

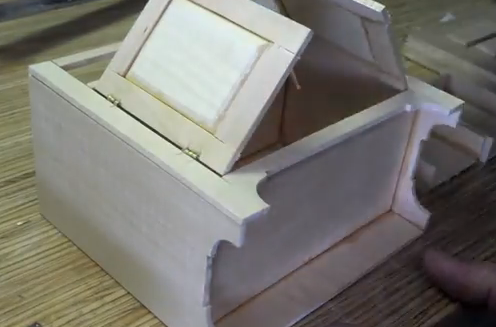
Flip the cabinet right side up and glue the splash guards in place using the marks made earlier as a reference.
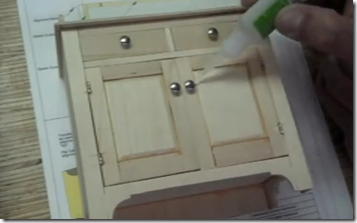
Finally, align your door knobs and glue in place. Now all that is left is to apply some stain and varnish to give it the finalized look.
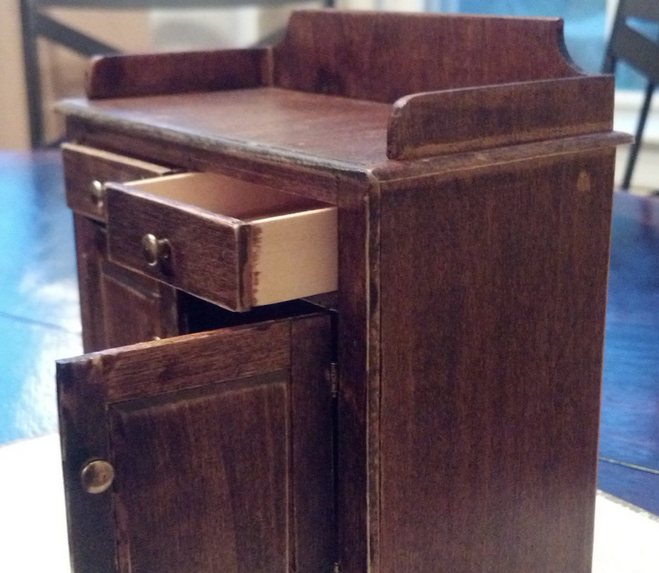
Purchase the plans to build this playscale size Dry Sink as an immediate digital download from my store front at Etsy.com.
Category: Scale Models