Testing the Solar Setup
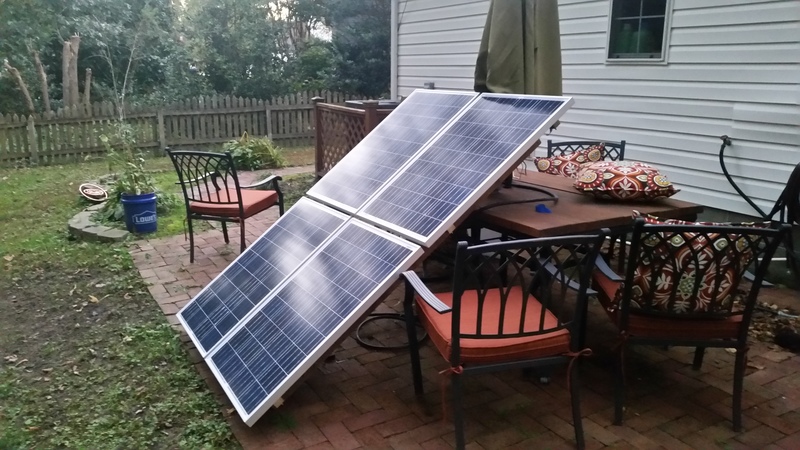
When I started planning the cabin solar setup, I realized the original panel location might not get enough winter sun. The sun was already sitting lower in the sky, and the spot I had in mind was not as open as it looked earlier in the year.
Before hauling everything permanently to the cabin, I mocked up the system at home where tools, parts, and a better test area were close by. That let me check the panel arrangement, charge controller, battery wiring, and generator backup idea before committing to the final installation.
Solar Panel Mount Plan
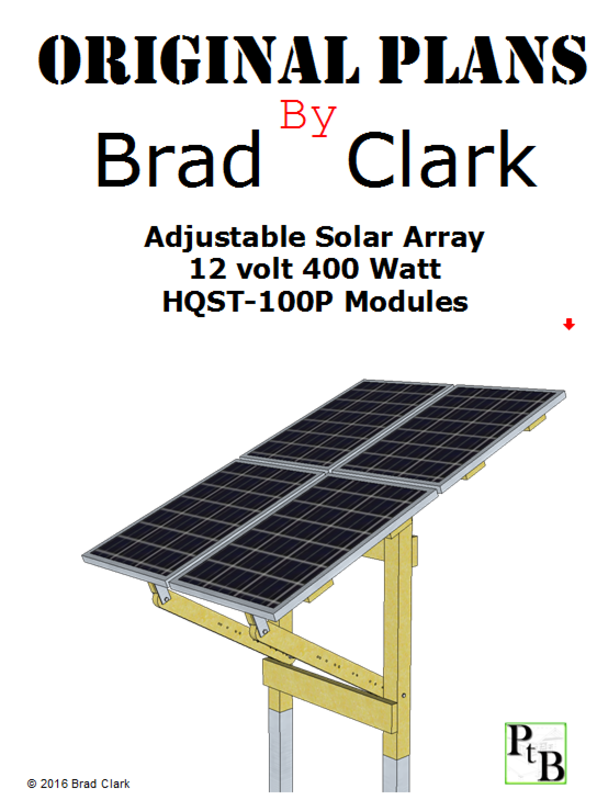
I drew a simple wooden mount for four 100 watt solar panels. The mount is adjustable on one axis so the panel angle can be changed through the year as the sun angle changes.
My first thought was to calculate and mark a specific hole location for each month. After thinking through the tolerances, that seemed like a good way to make the mount harder to build than it needed to be. The simpler approach is to set the angle, clamp the brace where it belongs, and drill the adjustment holes once the real parts are in position.
Download The Mount Drawing
The solar panel mount PDF is a six-page drawing set made from the original SketchUp/Layout file. It may be useful as a starting point if you are building a small adjustable array for a shed, cabin, or test setup.
Test System Layout
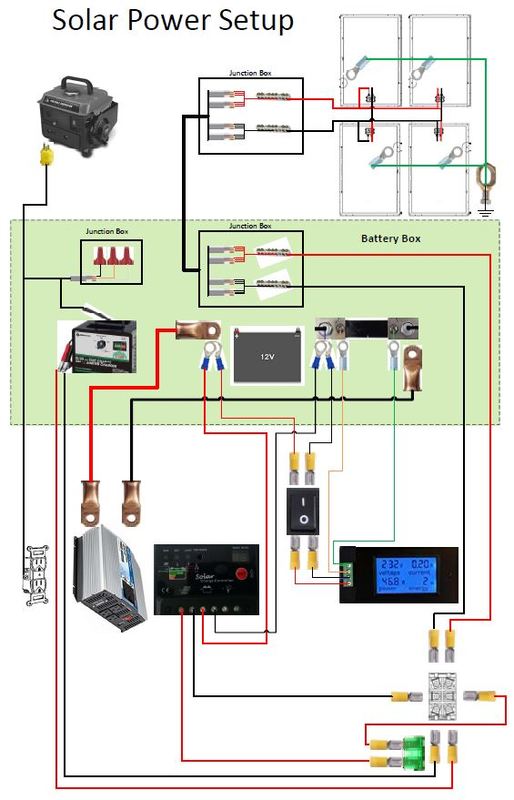
The test setup was based around four 100 watt panels, four deep-cycle batteries, a small charge controller, a digital display, and a small Harbor Freight generator with a basic battery charger for backup charging.
The main pieces I was testing were:
- XCSOURCE LD296 30 amp PWM solar charge controller
- HQST 100 watt 12 volt polycrystalline solar panels
- Bayite DC voltage, current, power, and energy meter with shunt
- Four deep-cycle batteries
- Harbor Freight 900 peak / 700 running watt two-cycle generator
- Basic battery charger for backup charging experiments
Charge Controller And Backup Charging Idea
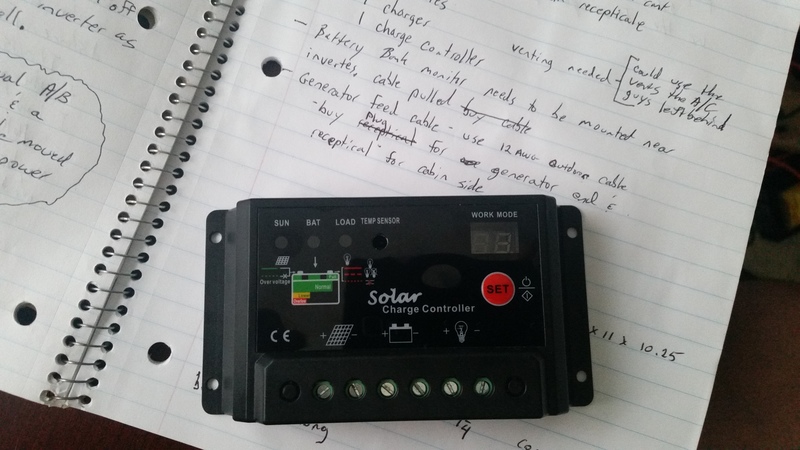
Because I was new to this setup, I started with an inexpensive charge controller. The LD296 controller was cheap enough that I would not be heartbroken if I damaged it while learning. The printed manual was tiny and the English translation was rough, so I photographed it and made a PDF version for reference.
Download the LD296 charge controller manual PDF
One experiment I wanted to try was feeding the basic battery charger into the charge controller in parallel with the solar array. The idea was that when the batteries were low and there was no sun, I could run the generator, charge the batteries, and possibly run the cabin at the same time.
I was not sure yet whether that was the best approach or whether it could cause problems for the controller, charger, or panels. A disconnect switch, A/B switch, or relay setup may be a better way to isolate the charging sources. Treat this as a test note, not a finalized wiring recommendation.
Mockup Before The Cabin Install
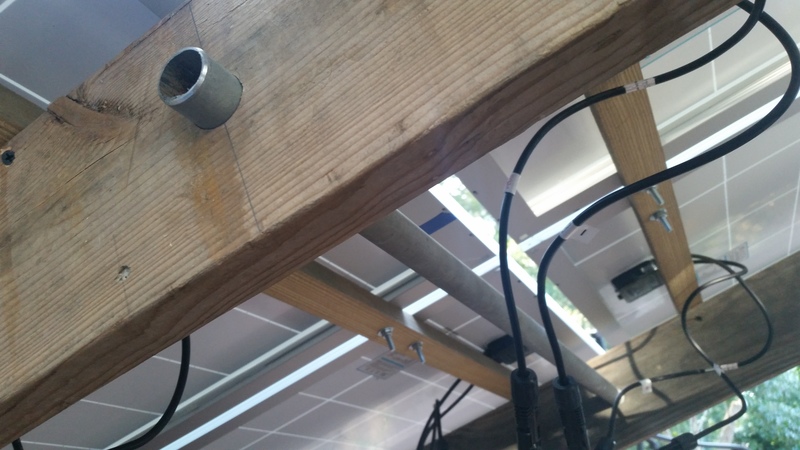
This photo shows the main part of the solar array mocked up with temporary wiring. I used metal pipe as the hinge point and kept the connections easy to change while testing different equipment layouts.
The battery bank still needed a proper enclosure. My plan was to house it outside the cabin in a bench-style box, while most of the electronics would mount inside the cabin on the wall. Working through the setup at home first made it easier to sort out the rough spots before hauling everything to the property.
Safety Note
This page documents my test setup and planning notes. Solar and battery systems can create fire, shock, and equipment-damage risks. Check current electrical guidance, fuse and disconnect requirements, wire sizing, charge-controller documentation, and local code before building your own version.