Tiny Cabin In The Woods

We wanted a small cabin on our property for a long time. I started with a purchased set of plans, rebuilt the idea in Google SketchUp, and kept refining it until the design matched the way I needed to build: simple enough to manage mostly by myself, but solid enough to use for years.
The final cabin is 12 x 16, often searched as a 12x16 cabin. It is compact enough to finish without turning into a never-ending project, but still large enough for my family to use comfortably. The layout was planned to sleep six with a fold-out sofa downstairs and two full-size mattresses in the loft.
Watch The Build
The Design
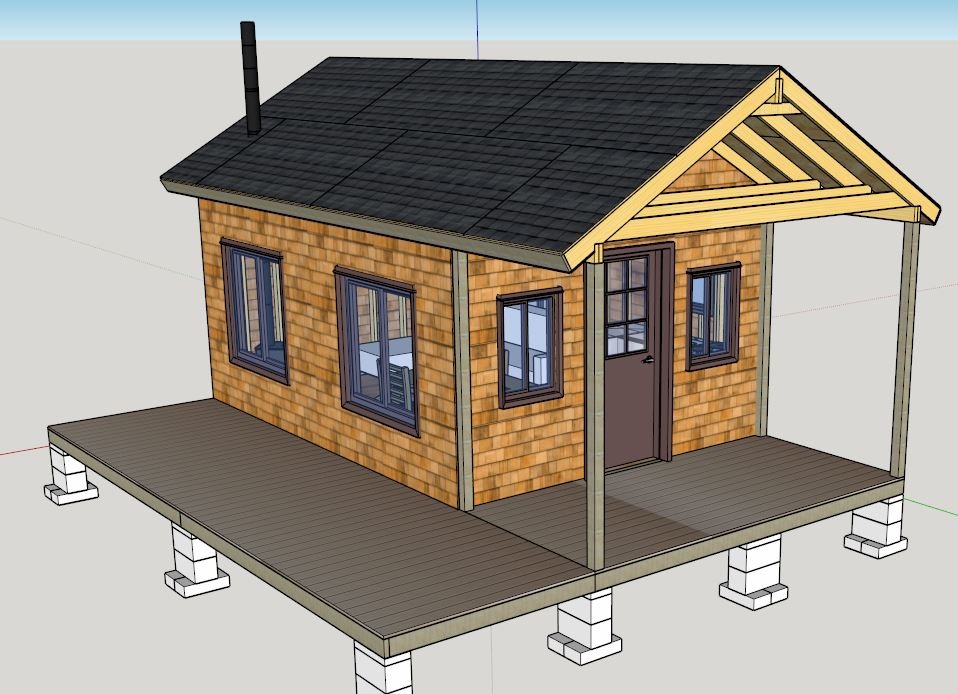
The cabin was designed as a 12 x 16 structure with a 6 foot deck wrapping two sides. I extended the roof to create a small covered porch for rainy weather. A second covered porch along the long deck may happen someday, but for this first phase I wanted to keep the build simple enough to finish.
That balance shaped the whole project. I wanted a cabin that could be planned carefully, cut efficiently, and built in small work sessions without needing a full construction crew on site.
Foundation And Deck Framing
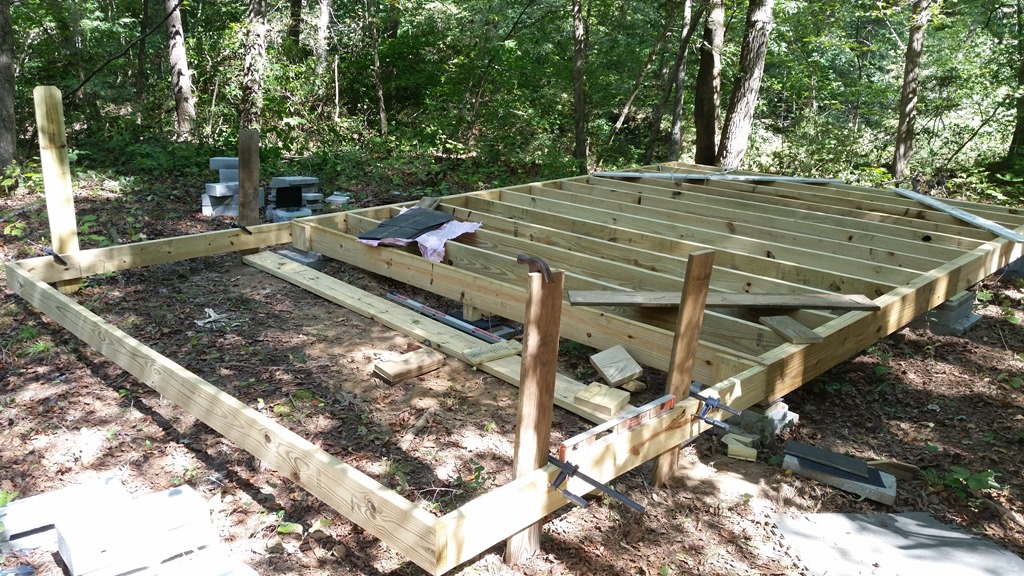
For the foundation and deck, I used a few clamps and scrap boards to help square and level each frame quickly. Measuring corner to corner after leveling the frame confirmed whether everything was square. Once the floor joists were in, I repeated the squaring and leveling process and added corner braces so the framing would not move while I finished the deck.
This method worked well for a small structure like this. It also saved me from setting up strings, which is accurate but can get tedious.
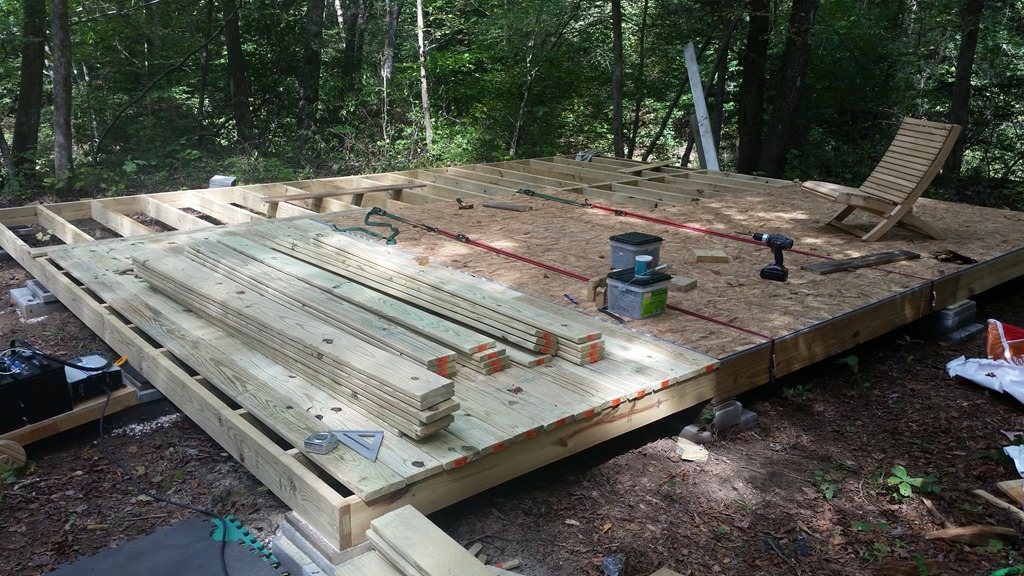
The cabin was built without normal utilities on site. Power came from a 2000 watt inverter and two deep-cycle marine batteries, which was enough for some tools but not enough to run my air compressor. That meant the deck and subfloor nails were all driven by hand. By the end of the project, the two 30 pound boxes of nails in the photo were essentially empty.
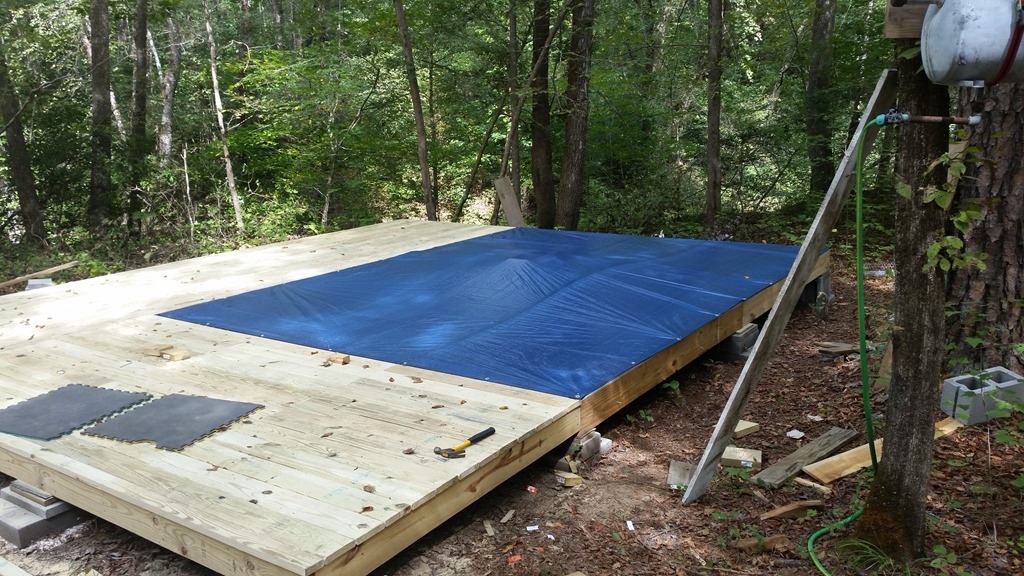
At that stage I still had planning and logistics to work through, especially because the hardware store was not exactly local. I covered the foundation with a 12 x 16 tarp and used the nail pails in the center to help shed rainwater toward the sides. It held up well enough until I could get back out there.
Getting Materials To The Site
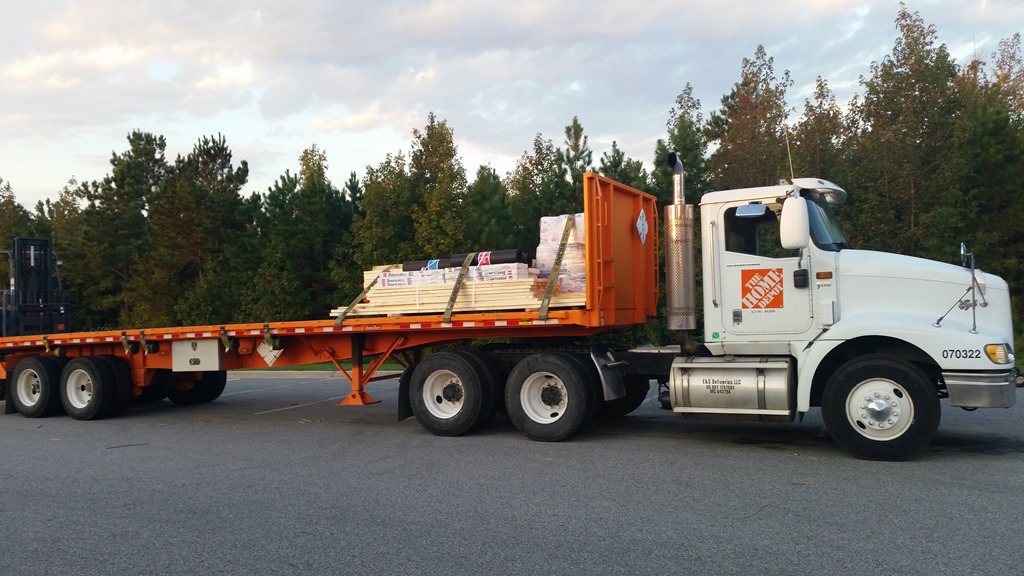
After filling a Home Depot cart and scheduling delivery deep into the woods, this was not the truck I was hoping to see. The road to the property is narrow and winding, and I did not think there was any way the driver would get the material close to the build site.
He did. A fifty dollar bet that he could not drive the forklift and material all the way down the hill was apparently enough motivation to get everything within walking distance of the cabin.
Framing The Walls
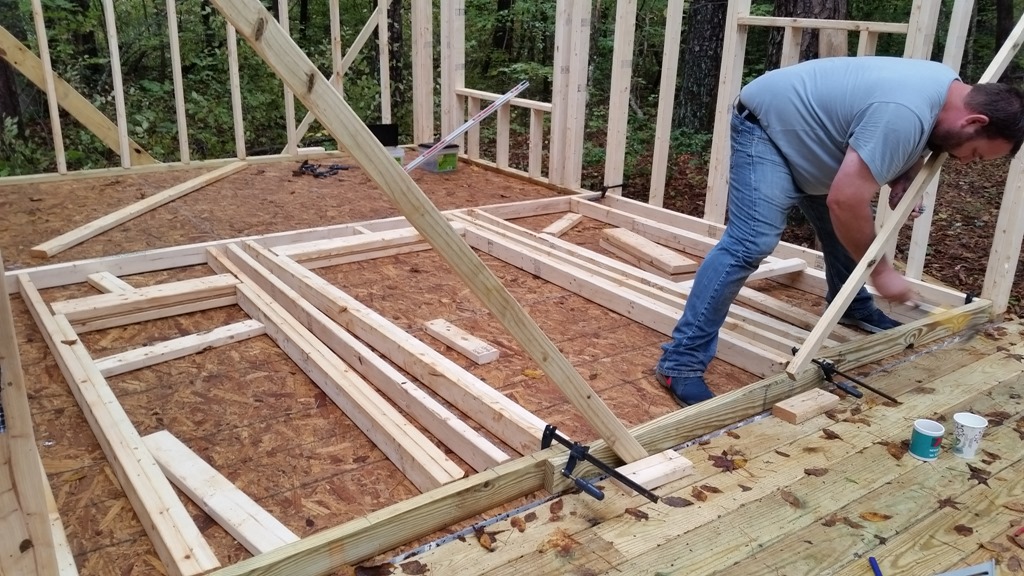
I did not draw the plans in the conventional way. I used Google SketchUp, plugins, and a lot of careful measuring so I could cut every board before nailing the walls together. The CutList plugin helped show which parts came from each board and kept scrap to a minimum.
I also separated the build into smaller jobs. Each wall had its own cut list and material count. That worked better than expected, though there were still moments where I had to jump ahead, like building and setting the main beam.
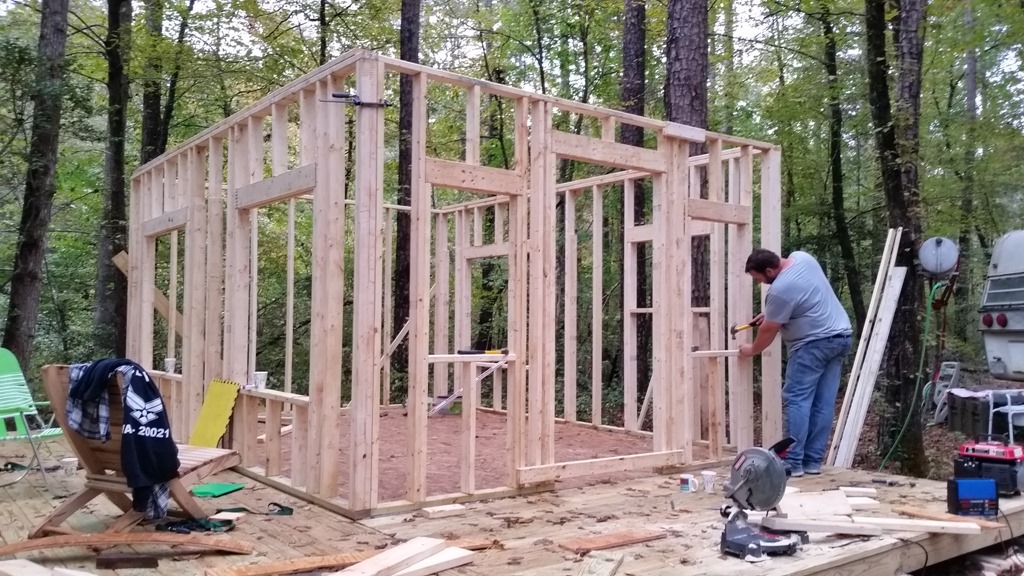
Progress slowed down between rain showers and all the hand nailing. It took my family and me about a day and a half to get the four walls up. Driving that many 16 penny galvanized nails brought back memories of helping my grandpa build things. Sometimes getting back to the basics makes you appreciate the tools you normally take for granted.
Roof Beam And Rafters
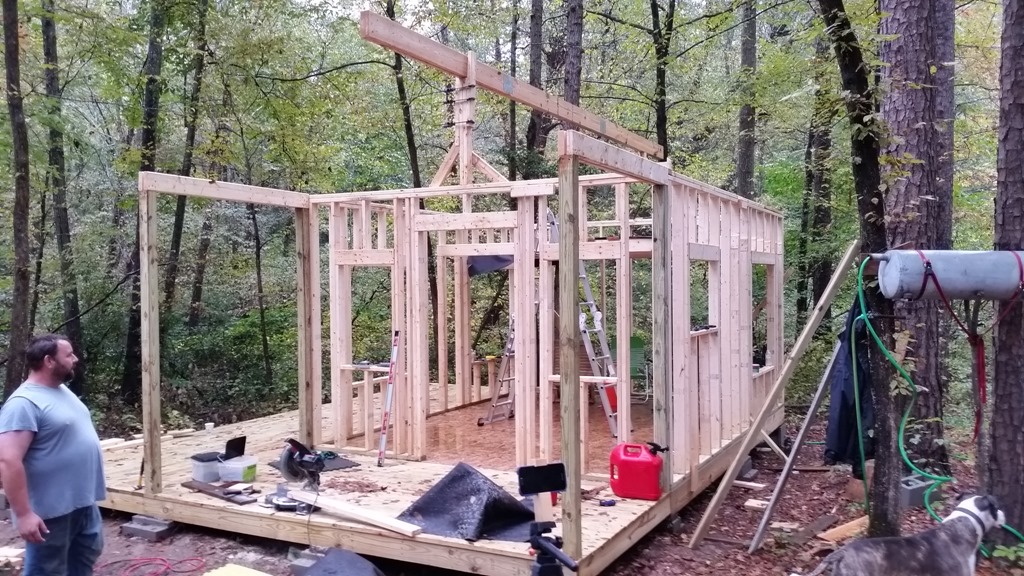
After a very rainy and miserable day, a friend from work and my middle son helped lift the main roof beam into place. It seemed like every time I had good help available, the rain showed up too, so we worked through it and got the beam set.
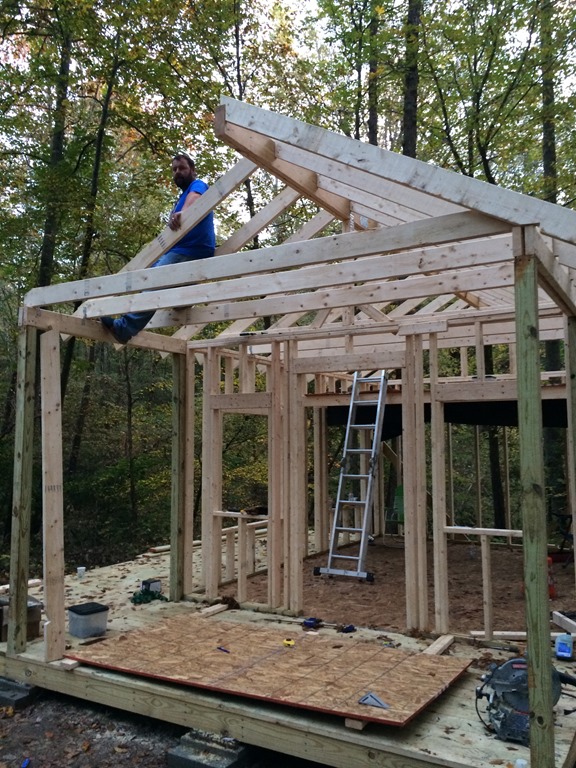
The first sunny day after that, I worked alone. I wished I had all the weekend help back, but I still managed to cut the roof rafters and install all but two of them. The rafter design helped because each one would sit in place long enough for me to line it up, tack it, and then nail it permanently.
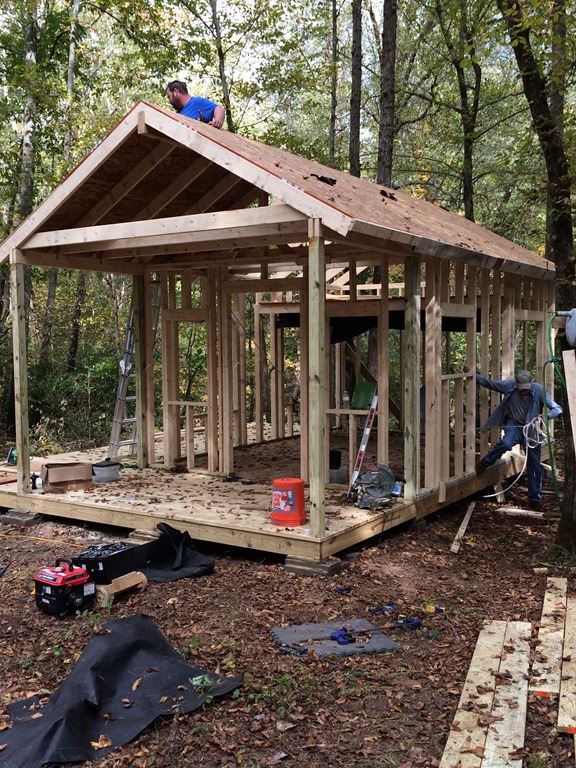
Thankfully my wife and in-laws arrived the next day just in time to help lift the heavy plywood onto the roof. There is no way I could have done that safely by myself.
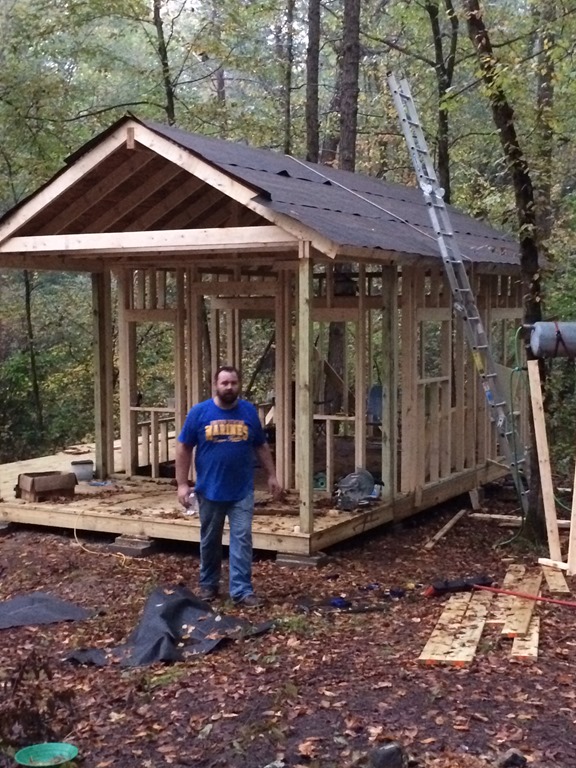
That was the hardest day I spent out there. By the end of it, all I could do was muster enough energy to get tar paper on the roof before the heavy rain forecast for that night. I wanted the walls closed in too, but part of the Home Depot order had been missed, and I was too worn out to do anything else anyway.
Weather, Windows, And Closing It In

The little creek next to the cabin rose nearly 8 feet overnight. Wednesday was a washout, so I took the chance to get a hotel room and a hot shower. After several days of miserable weather, that felt pretty good.
Flooding would become a much bigger part of this cabin's story years later. This original build page focuses on the first construction phase, but the cabin eventually went through a serious 2018 flood, was recovered, and was rebuilt in 2020. Those follow-up stories deserve their own write-ups and will eventually connect back here.
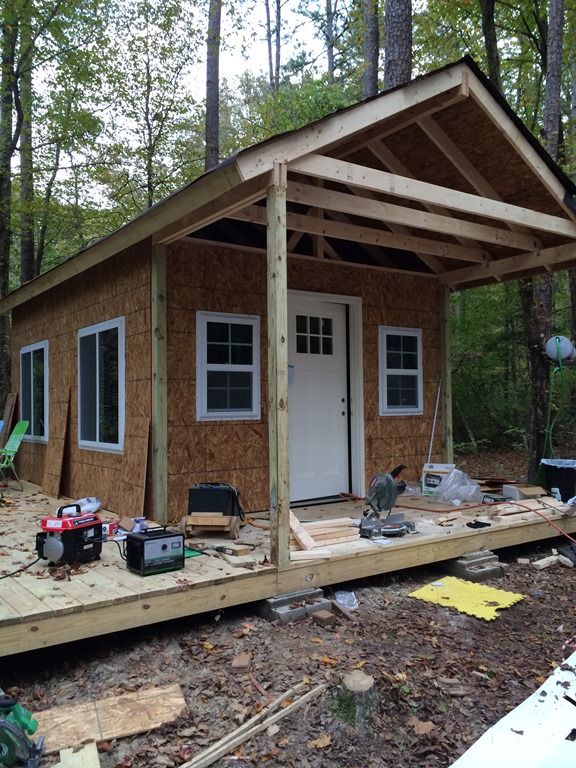
The town trip also let me swap out the wrong windows and pick up the wall sheathing that had been missed. Over the next few days, my wife and I installed the windows and door, added the collar ties I had skipped in the rush to get plywood on the roof, finished wall sheathing, and handled a pile of smaller odds and ends.
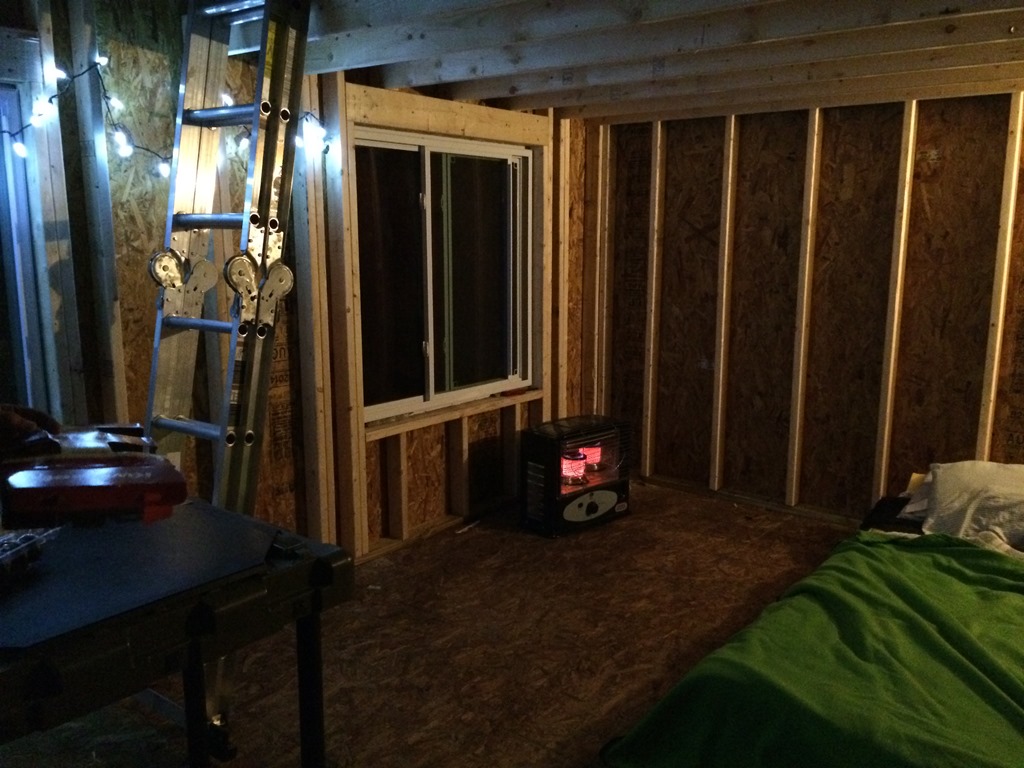
We spent the last two nights of that trip in the new cabin. Compared with the rough camper we had been using, it was a huge improvement. I could not wait to finish the inside.
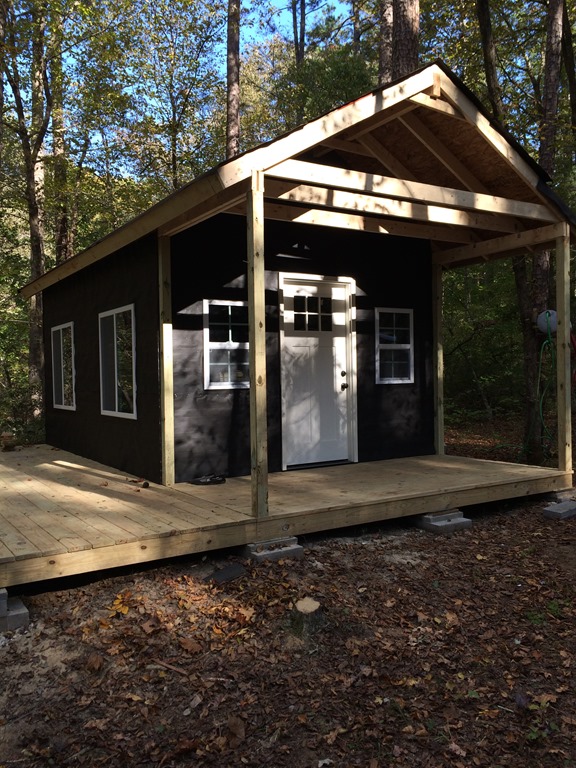
By Saturday afternoon, the cabin was sealed up with tar paper and the construction mess was cleaned back up. The goal was to leave it protected until I could get back out to finish roofing, siding, and insulation.
Roofing And Siding
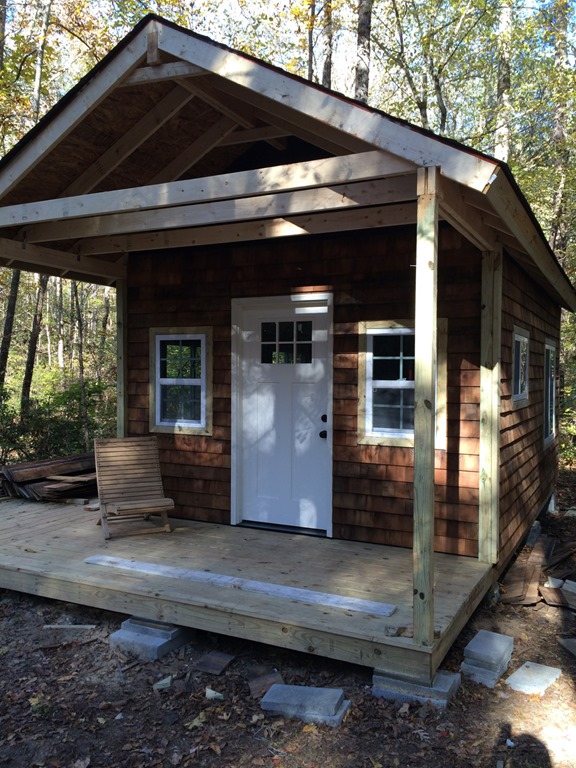
The following weekend I made it back out, got the roofing installed, and finished a little under half of the siding. After that, it was time for a break.
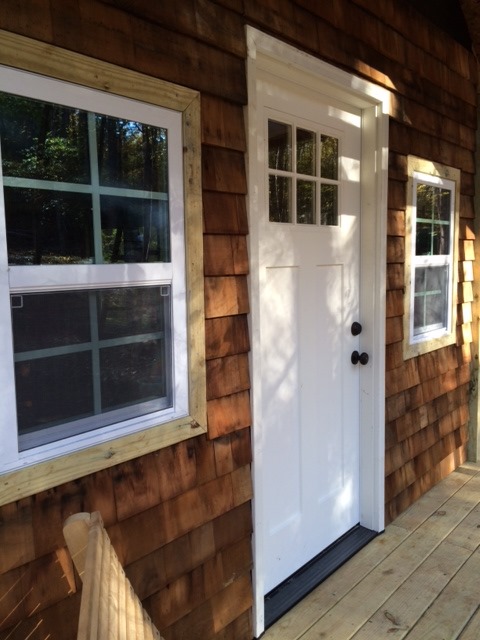
The cedar siding looked good, and I was looking forward to finishing it.
More Cabin Story
The original build became the center of several later updates: off-grid power testing, interior planning, camper experiments, and property cleanup notes. Those posts are collected in a separate story hub so this page can stay focused on the first cabin build.
Cabin Project Guide
The free 12x16 cabin project guide includes the archive PDF and SketchUp companion file for this cabin. It is a personal build guide and concept reference, not a stamped architectural or engineering plan.